Advanced Operations
23
5
Exit the menu display.
Press the [MENU] or [ESCAPE] button on either
the projector's control panel or the remote
control.
This section describes commonly-used functions.
This adjusts the "Black Level" and "White Level" settings in accordance with the signals being input, so that
the images do not become distorted. To adjust the colours, use the "Color Temp.", "Flesh Tone" and "Color
Balance" commands.
This adjusts the brightness of dark shades. It lets you adjust dark shades without affecting the brightness of
light shades.
Use the "Black Level" item in the "Image" menu to change the setting. (p.26, 28)
If adjusted to the + side, the luminosity of dark scenes
increases and different tones become clearer, but contrast
is reduced.
If adjusted to the - side, the brightness of dark shades is
reduced and images with greater contrast are obtained,
but differences in dark areas become less distinct.
This adjusts the brightness of light shades. It lets you adjust light shades without affecting the brightness of
dark shades.
Use the "White Level" item in the "Image" menu to change the setting. (p.26, 28)
If adjusted to the + side, the luminosity of light scenes
increases and contrast become clearer, but differences in
light tones are reduced.
If adjusted to the - side, differences in light areas become
more distinct, but contrast is reduced.
If you do not press a button for 5 seconds
while a line menu is displayed, the line
menu disappears automatically.
Description of Functions
Black Level Adjustment
White Level Adjustment
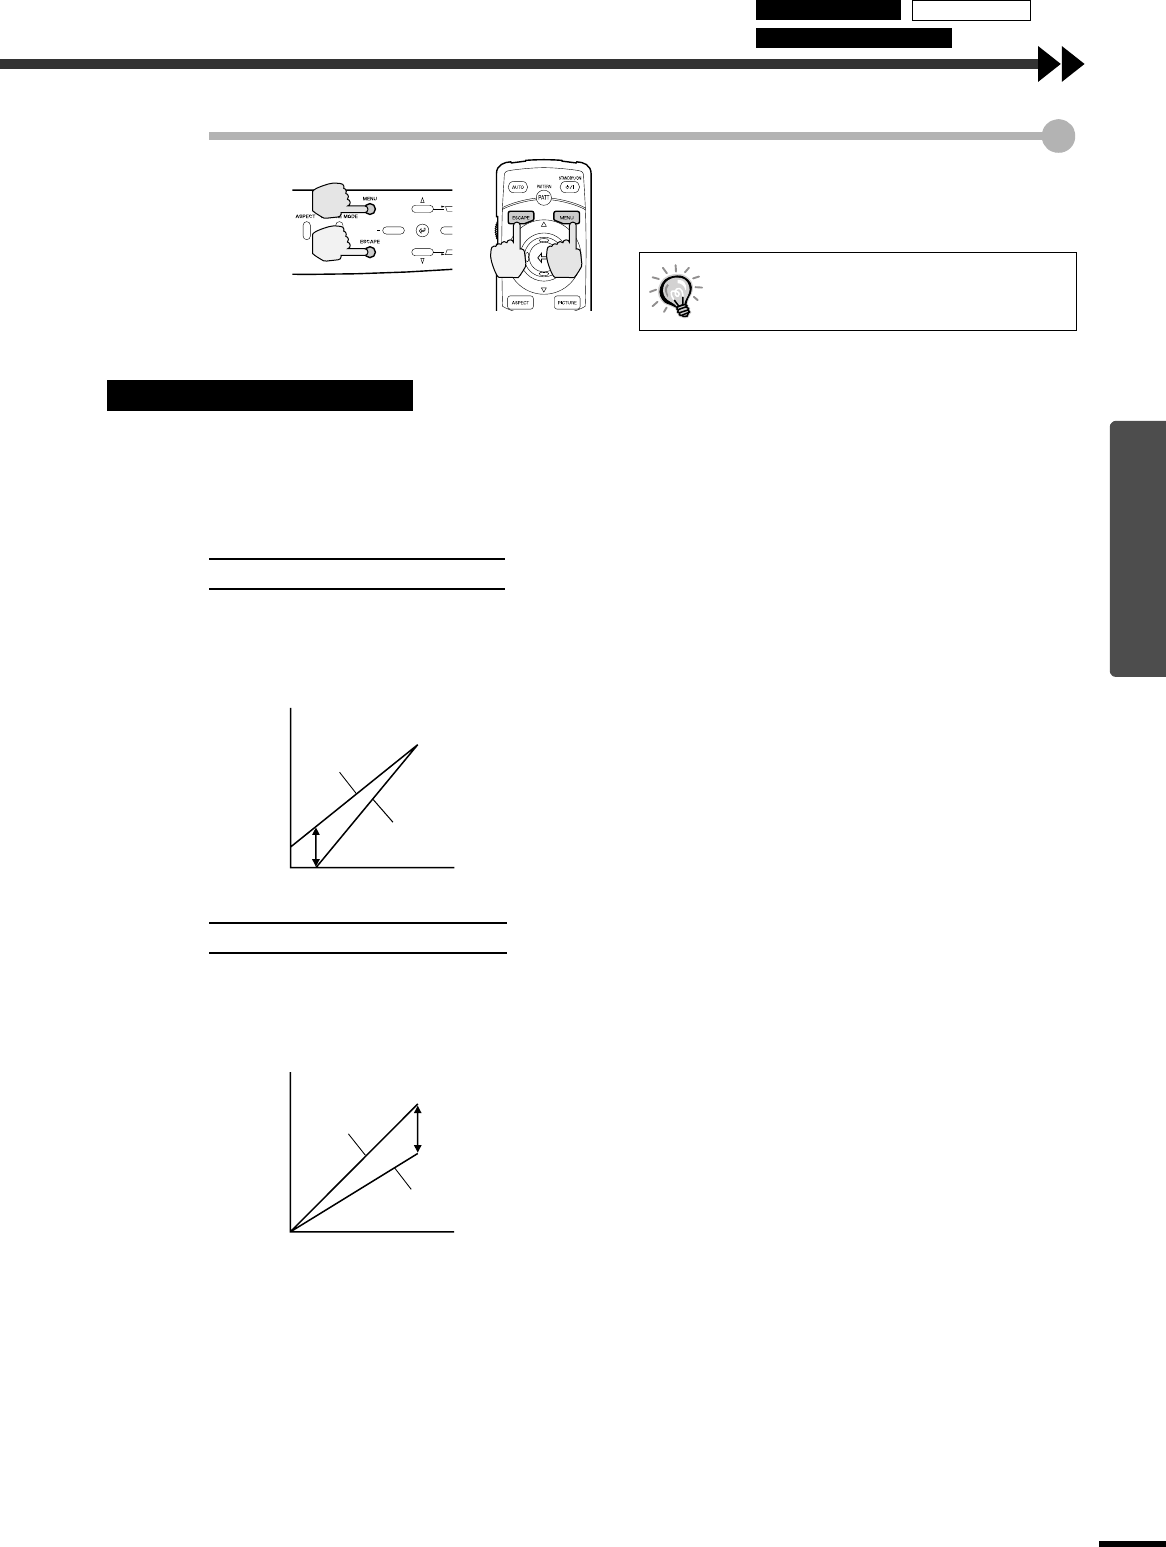
Projector
Remote control
Brightness
When adjusted
to the + side
When adjusted
to the - side
Input signal
Brightness
When adjusted
to the + side
When adjusted
to the - side
Input signal
Using the Menus Memory Save
Description of Functions


