


Advanced Operations
21
3
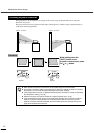
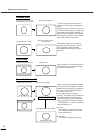
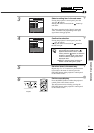
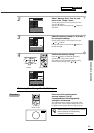
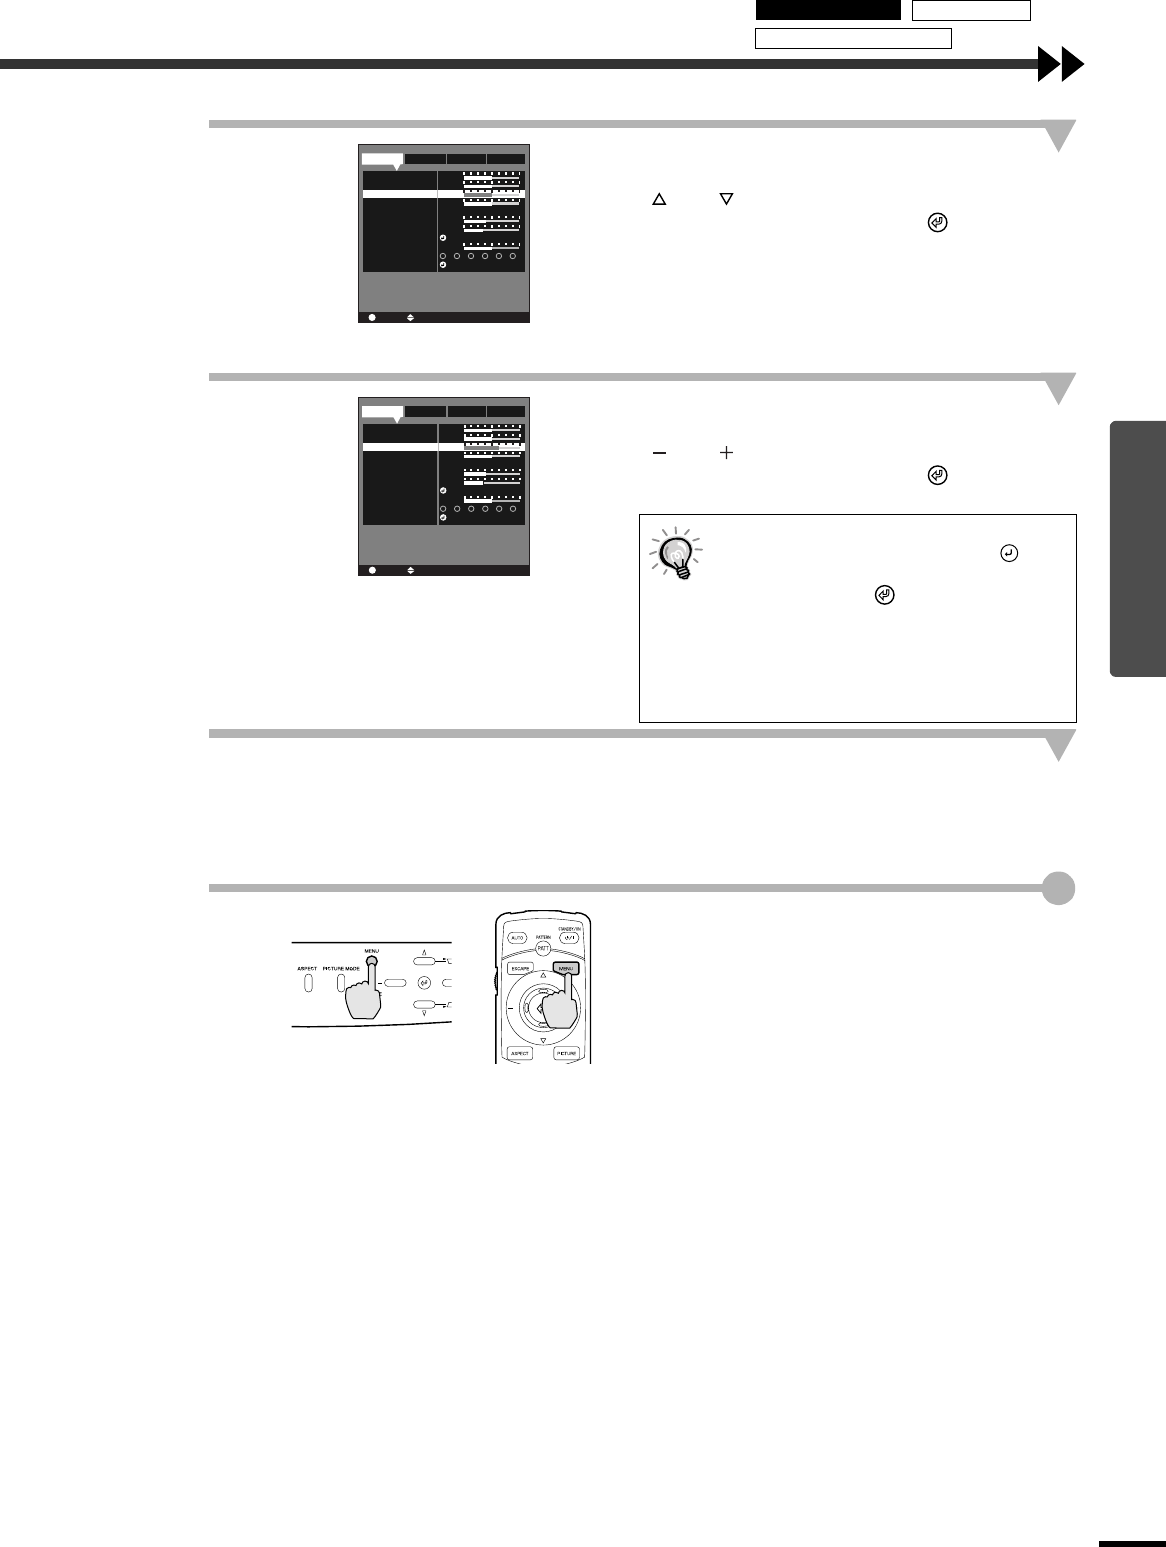
Select a setting item in the sub-menu.
If using the projector's control panel, press the
and buttons.
If using the remote control, tilt the button up
and down.
The items appearing in the “Image” menu and
“Info” menu will vary depending on the input
signal that is being projected.
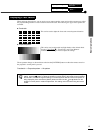
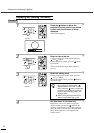
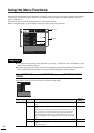
4
Confirm the selection.
If using the projector's control panel, press the
and buttons.
If using the remote control, tilt the button to
the left and right.
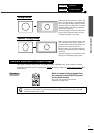
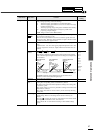
5
Set other items in the same way.
Repeat steps 2 to 4. To return to a previous menu
level while a sub-menu is selected, press the
[ESCAPE] button on the projector's control panel
or the remote control.
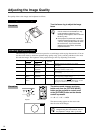
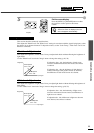
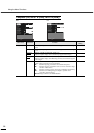
6
Exit the menu display.
Press the [MENU] button on either the projector's
control panel or the remote control.
The main menu can be exited by pressing the
[ESCAPE] button on the projector's control panel
or the remote control.
•
••
•
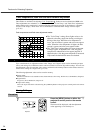
If a setting is executed or a sub-menu
item continues to another level, " "
appears after the item name. In such
cases, press the button on either the
projector's control panel or the remote
control to select a setting value in the
displayed menu.
•
••
•
Refer to using the menu functions for
details of each setting item. (p.26)
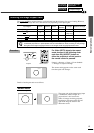
:Select -,+ :Adjust
:Return
1
0
0
0
0
A
B C PC sRGB
2
6700K
3456
Memory Save
Color Balance
Black Level
White Level
Hue
Color Temp.
Flesh Tone
Picture Mode
Reset Image
0
Sharpness
ESC
Image SetupSignal Info
0
Saturation
:Select -,+ :Adjust
:Return
1
0
0
0
0
A
B C PC sRGB
2
6700K
3456
Memory Save
Color Balance
Black Level
White Level
Hue
Color Temp.
Flesh Tone
Picture Mode
Reset Image
0
Sharpness
ESC
Image SetupSignal Info
3
Saturation
Projector
Remote control
Using the Menus Memory Save
Description of Functions