


25
Advanced Operations
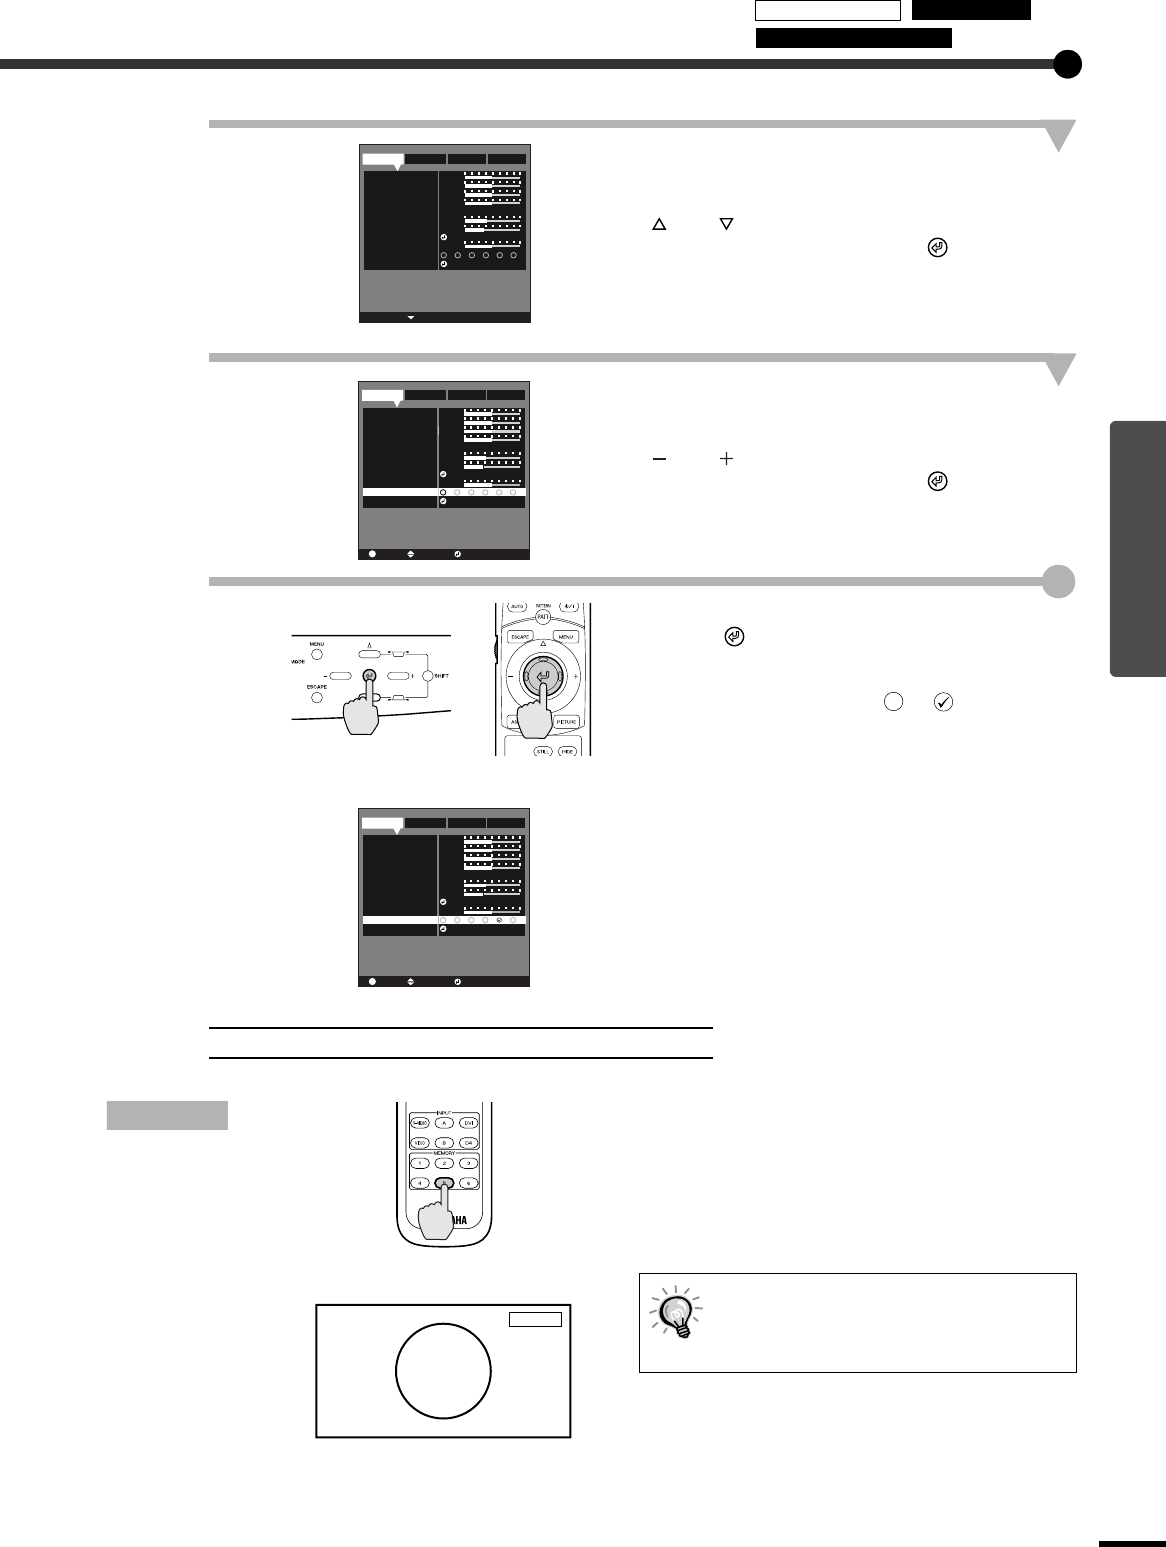
2
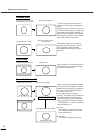
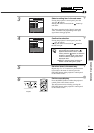
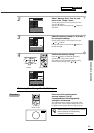
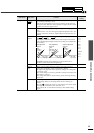
Select "Memory Save" from the sub-
menu of the "Image" menu.
If using the projector's control panel, press the
and buttons.
If using the remote control, tilt the button up
and down.
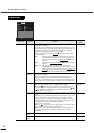
3
Select the memory number (1 - 6) to use
for saving the settings.
If using the projector's control panel, press the
and buttons.
If using the remote control, tilt the button to
the left and right.
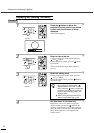
4
Confirm the memory setting.
Press the button on either the projector's
control panel or the remote control.
The number icon for the button number being
memorised will change from to .
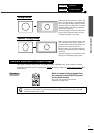
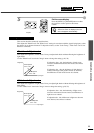
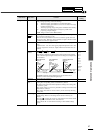
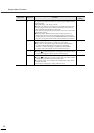
Procedure
Press one of the remote control
memory buttons [1] to [6]
corresponding to the image quality
settings to be retrieved.
The selected memory number will appear in the
top-right of the screen, and the setting values will
be applied to the images that are being projected.
Retrieving Saved Image Quality Settings
If you press one of the remote control
memory buttons [1] to [6] that has no stored
memory settings, the images being
projected will not change.
-,+ :Select
:Enter
Image SetupSignal Info
1
0
0
0
0
0
0
A B C PC sRGB
2
6700K
3456
Memory Save
Color Balance
Black Level
White Level
Sharpness
Saturation
Hue
Color Temp.
Flesh Tone
Picture Mode
Reset Image
/-,+:Select :Set
:Return
0
0
0
0
A B C PC sRGB
6700K
Color Balance
Black Level
White Level
Hue
Color Temp.
Flesh Tone
Picture Mode
Reset Image
0
Sharpness
ESC
Image SetupSignal Info
0
Saturation
1 23456
Memory Save
/-,+:Select :Set
:Return
0
0
0
0
A B C PC sRGB
6700K
Color Balance
Black Level
White Level
Hue
Color Temp.
Flesh Tone
Picture Mode
Reset Image
0
Sharpness
ESC
Image SetupSignal Info
0
Saturation
12345 6
Memory Save
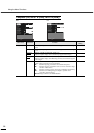
Projector
Remote control
Memory 5
Remote control
Using the Menus Memory Save
Description of Functions