


49
Appendices
5
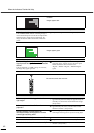
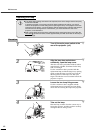
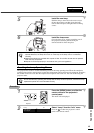
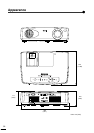
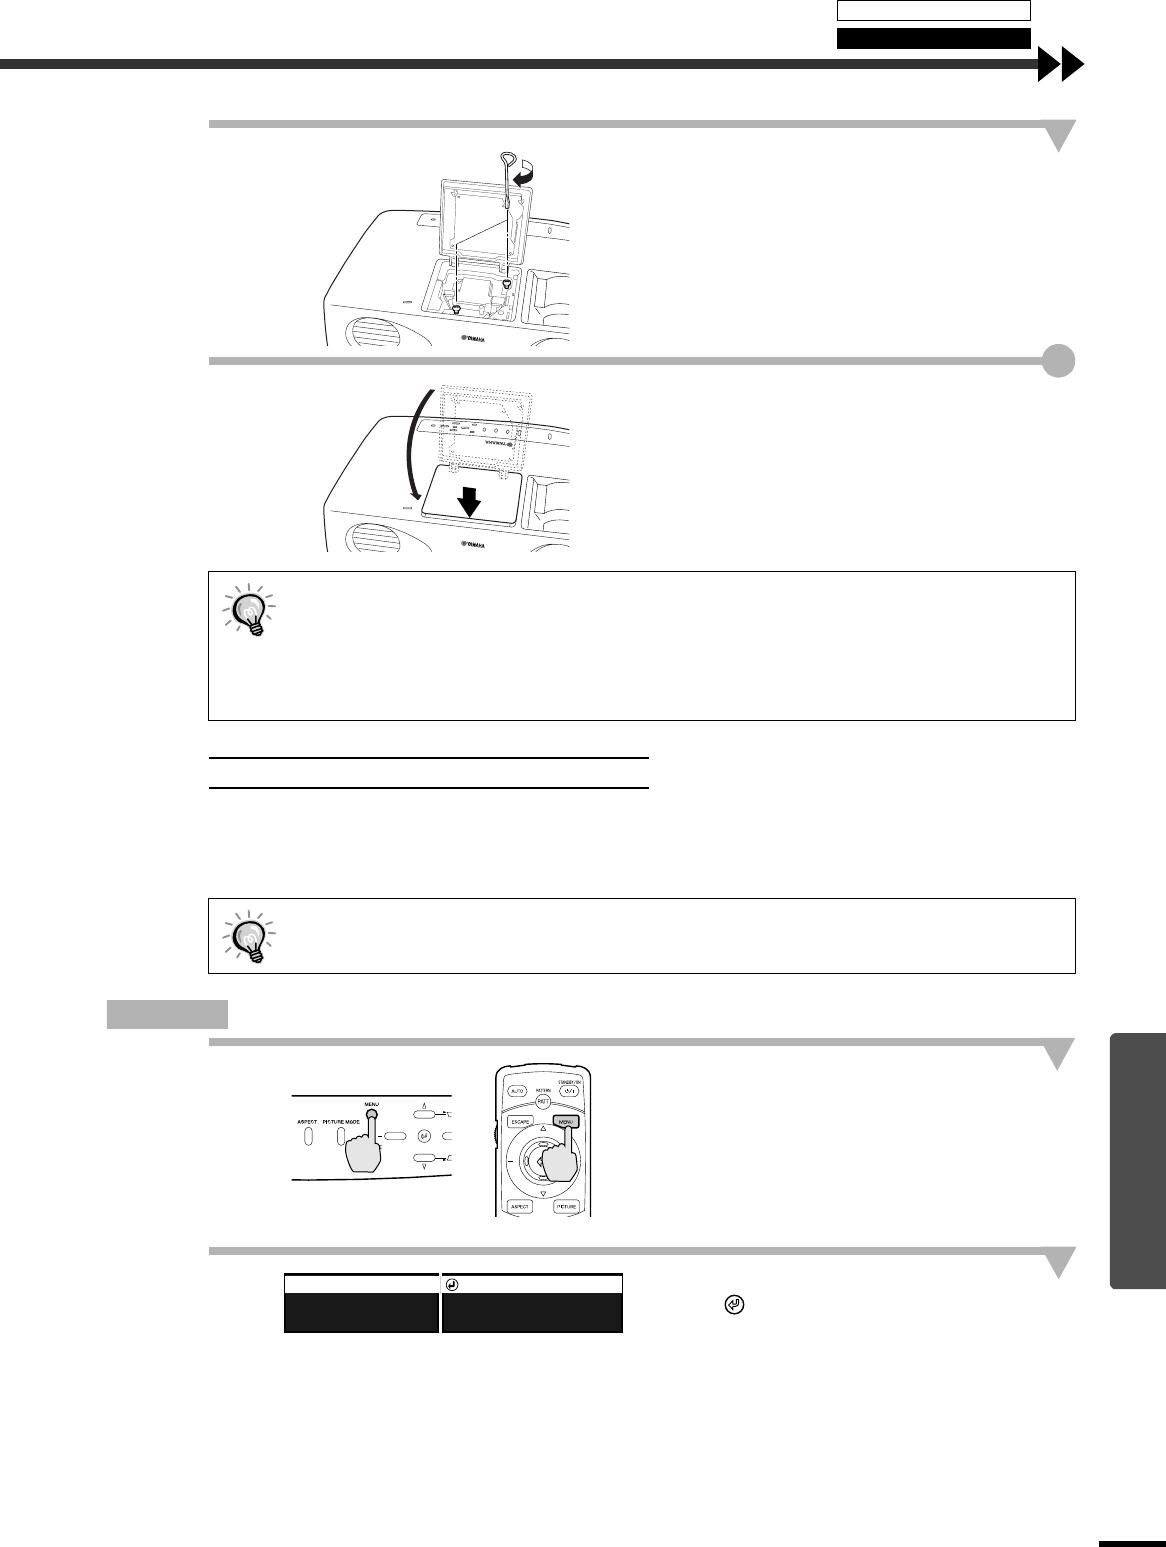
Install the new lamp.
Hold the lamp so that it faces the correct way to
fit into the projector, and then insert the lamp
until it clicks into place and tighten the two fixing
screws.
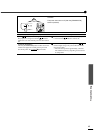
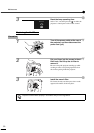
6
Install the lamp cover.
Close the lamp cover, slide it toward the rear of
the projector, and then push the front part
downward until it clicks into place.
The projector has a built-in counter which keeps track of the lamp operating time. When the cumulative
operating time reaches a certain point, it causes the replacement warning message to be displayed. Therefore,
the counter needs to be reset after the lamp has been replaced with a new one. You can do this using the
projector menu.
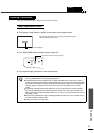
Procedure
1
Press the [MENU] button on either the
remote control or the projector's
control panel.
The menu will be displayed.
2
Select “Lamp” from the “Info” menu.
Press the on either the projector's control
panel or the remote control.
•
••
•
Install the lamp securely. For safety, the lamp will turn off automatically when the lamp cover is
opened. Moreover, the lamp will not turn on if the lamp or the lamp cover is not installed
correctly.
•
••
•
Replacement lamps are provided with a spare air filter. The air filter should also be replaced
when the lamp is replaced.
•
••
•
Dispose of used lamps properly in accordance with your local regulations.
Resetting the Lamp Operating Time
Do not reset the lamp operating time except after the lamp has been replaced, otherwise the lamp
replacement period will not be indicated correctly.
Projector
Remote control
Video Source
Input Signal
Lamp
0H
Cleaning
Replacing Consumables