


Using the Menu Functions
30
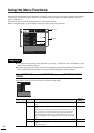
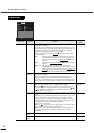
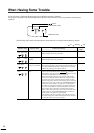
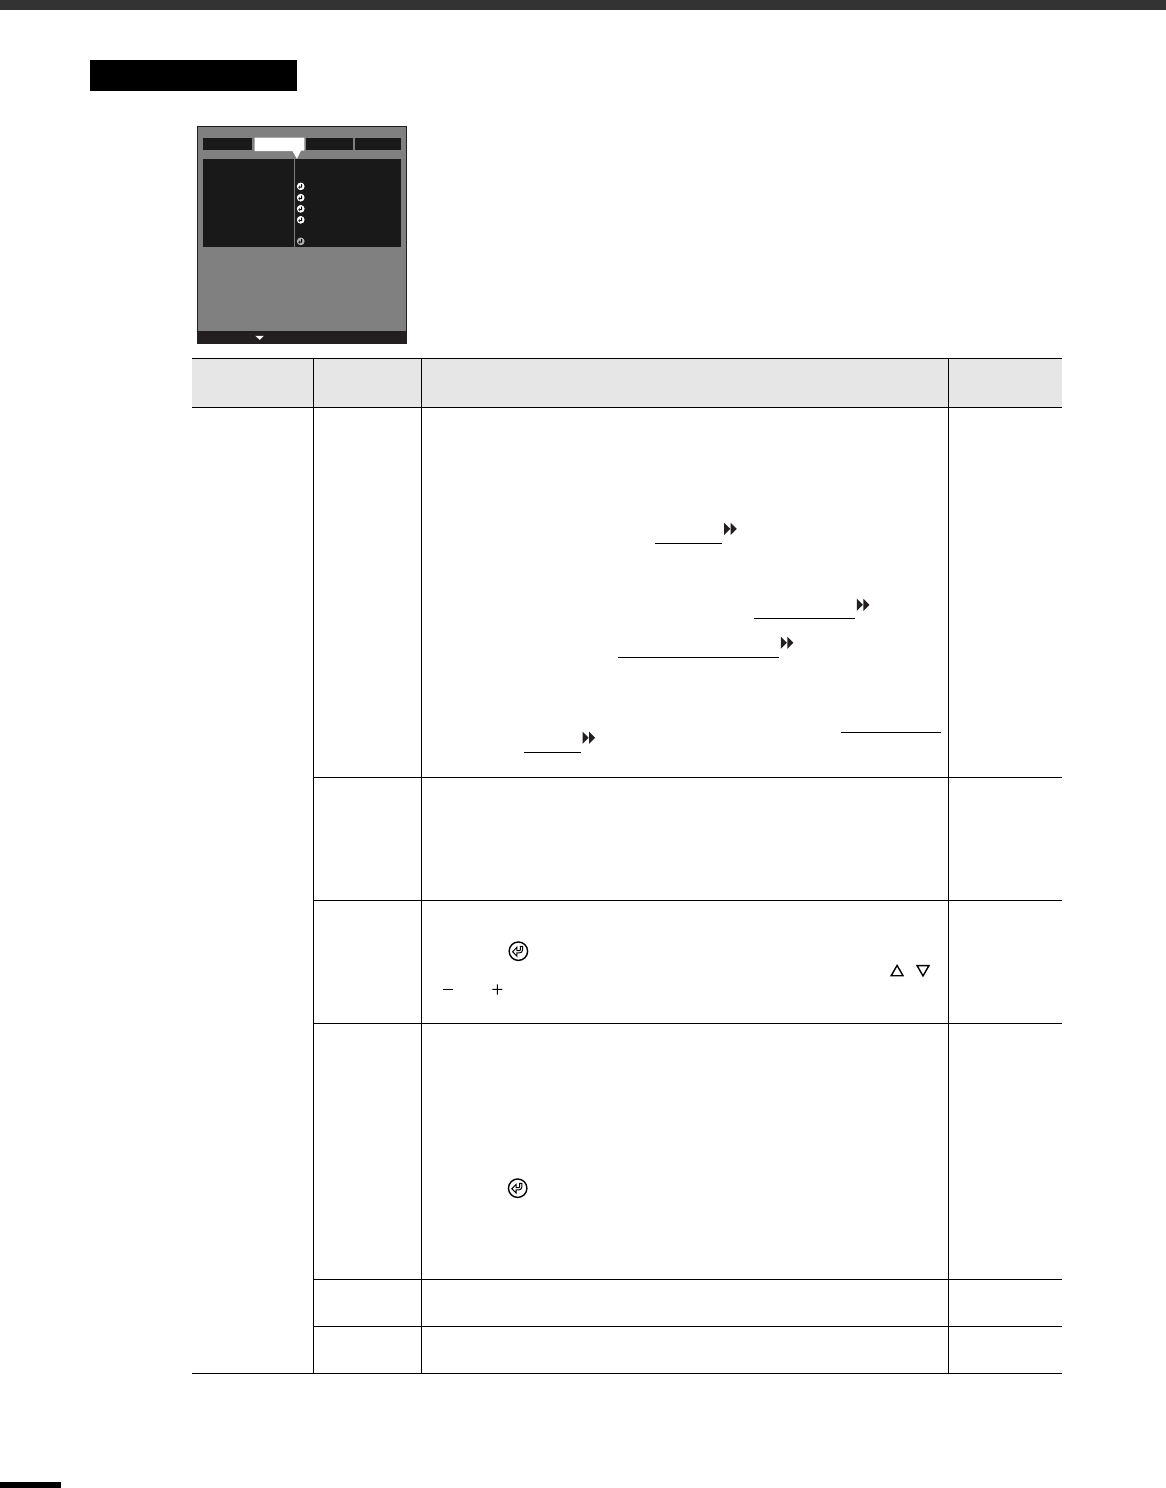
Signal Menu
Main menu Sub-menu Function
Default
setting
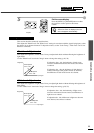
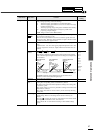
Signal Progressive (Adjustment is only possible when composite, S-Video, 480i and 576i
signals are being input.)
Depending on the combination of the model of VCR and the type of video
tape you are using, the colour in the images being projected may flicker and
the colours may not be projected correctly. If this happens, change the
“Progressive” setting in the “Signal” menu to “OFF”.
Changes signals from Faroudja's interlaced
mode to progressive (IP)
conversion mode.
•
••
•
Off :Progressive (IP) conversion is carried out for the screens in
each field. It is designed for use when viewing images with
large amounts of movement. The DCDi function
does not
operate.
•
••
•
Video :Turns off the Film judgment function . The DCDi function
operates.
•
••
•
Film/Auto :This setting should normally be used. The projector
automatically determines whether the signal source is a film
source or not. If the source is a film source, the 3-2 pull-down
function operates so that film images which match the
original are reproduced. The DCDi function operates.
Film/Auto
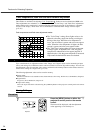
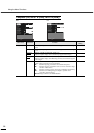
Noise
Reduction
(Adjustment is only possible when composite, S-Video, 480i and 576i
signals are being input.)
Reduces image interference and makes the image quality softer. Two
modes are available. Use the setting that best suits the images being
viewed. It is recommended that you set this function to Off when viewing
images sources such as DVDs which are relatively free from interference.
Off
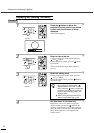
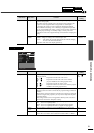
Position (Adjustment is not possible when DVI signals are being input.)
Moves the image display position vertically and horizontally.
•
••
•
Press the button on either the projector's control panel or the remote
control to display the display position sub-menu, and then use the , ,
and buttons to make the adjustment using the display position
adjustment screen that appears.
Depends on
connection
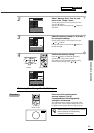
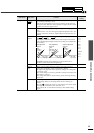
Video Signal (Adjustment is only possible when composite or S-Video signals are being
input.)
Depending on the combination of the model of VCR and the type of video
tape you are using, the “Auto” function may not recognise the signal
correctly, and this may result in the images being truncated or colours not
being displayed correctly. If this happens, change the setting from “Auto”
to the signal format for the signals being played back.
Sets the video signal format.
•
••
•
Press the on either the projector's control panel or the remote control,
and select the setting using the menu that appears.
•
••
•
When set to “Auto”, the video signal format is set automatically, but if
projecting signals in PAL-N format, the setting needs to be made
manually.
Auto
INPUT A
Signal
Selects the type of signal being input to the INPUT A port. Component
INPUT B
Signal
Selects the type of signal being input to the INPUT B port. RGB
-,+ :Select
:Enter
Progressive
Off Video Film/Auto
Off
Auto
Component
NR1
0% 7.5%
NR2
RGB
Component RGB
Noise Reduction
Position
Video Signal
INPUT A Signal
Setup Level
Zoom Subtittle
INPUT B Signal
Image SetupSignal Info