Chapter 1: Setting Up E–11
Serial Connection: RS232-C
Attach the Serial Cable
To connect the printer to your computer:
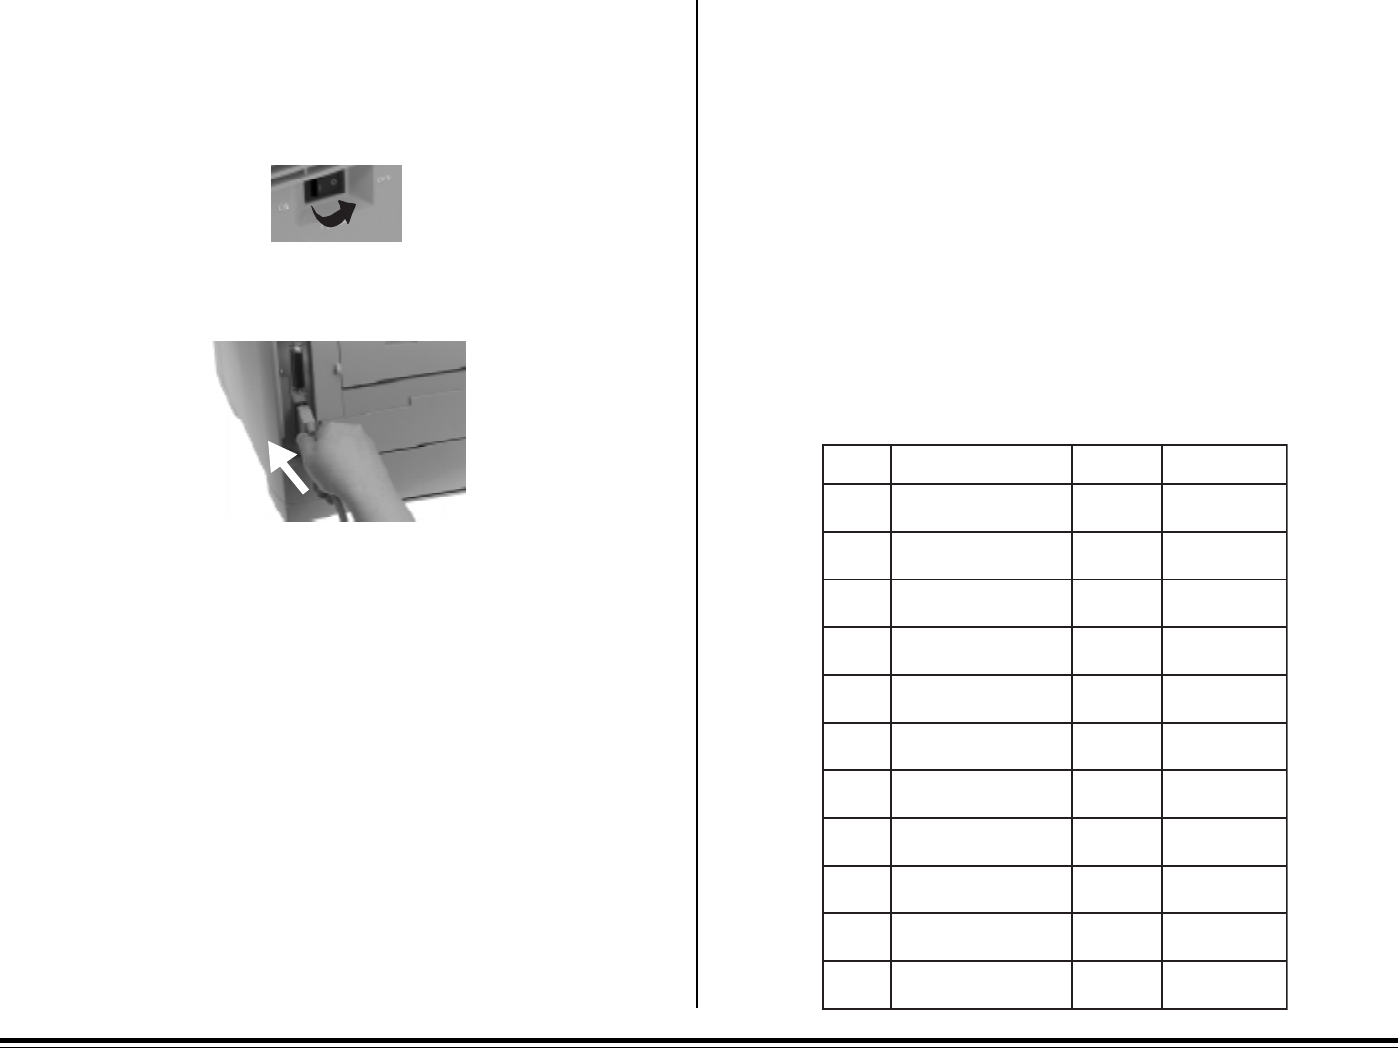
1. Turn both your printer and computer OFF.
2. Insert the male connector on the cable into the serial port on your printer.
Make sure the connector is fully inserted, then tighten the screws.
3. Insert the other end of the cable into the serial port on your computer and
tighten the screws.
Caution!Be sure not to over tighten the screws — this could damage
the screw posts!
RS232-C Serial Interface
Serial cable requirements:
• Cable must be shielded with twisted pair conductors, and must be UL
and CSA approved
• Maximum length for serial cable is 6 feet (1.8 meters).
• Printer connector is Type 17LE-13250-27 (D4CC) receptacle (25 pins)
Serial Mode
The serial interface settings on your printer and computer must match. To
change printer settings, enter the Level 2 menu (press ON-LINE to place the
printer off-line, then press MENU 1/Menu 2 for 2 seconds, until PRINT
MODE
appears) and select the RS232C SERIAL category. Set FLOW CON-
TROL
, BAUD RATE, DATA BITS, PARITY, and MIN. BUSY to match the settings
on your computer. Following are the printer default settings for these
parameters:
FLOW CONTROL DTR HI POLARITY
BAUD RATE 9600 BAUD
DATA BITS 8 BITS
PARITY NONE
MIN. BUSY 200 mSECONDS
Serial Interface Pin Assignments
niPlangiSlobmySnoitceriD
1dnuorGemarFGF-
2ataDdettimsnarTDTretnirpoT
3ataDdevieceRDRretnirpoT
4dneSottseuqeRSTRretnirpmorF
6-5- --
7dnuorGlangiSGS-
71-8---
81).xamam05(V5+-retnirpmorF
91- --
02ydaeRlanimreTataDRTDretnirpmorF
52-12---


