Appendix C: Installing SIMMs E–69
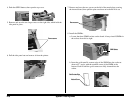
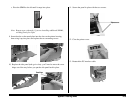
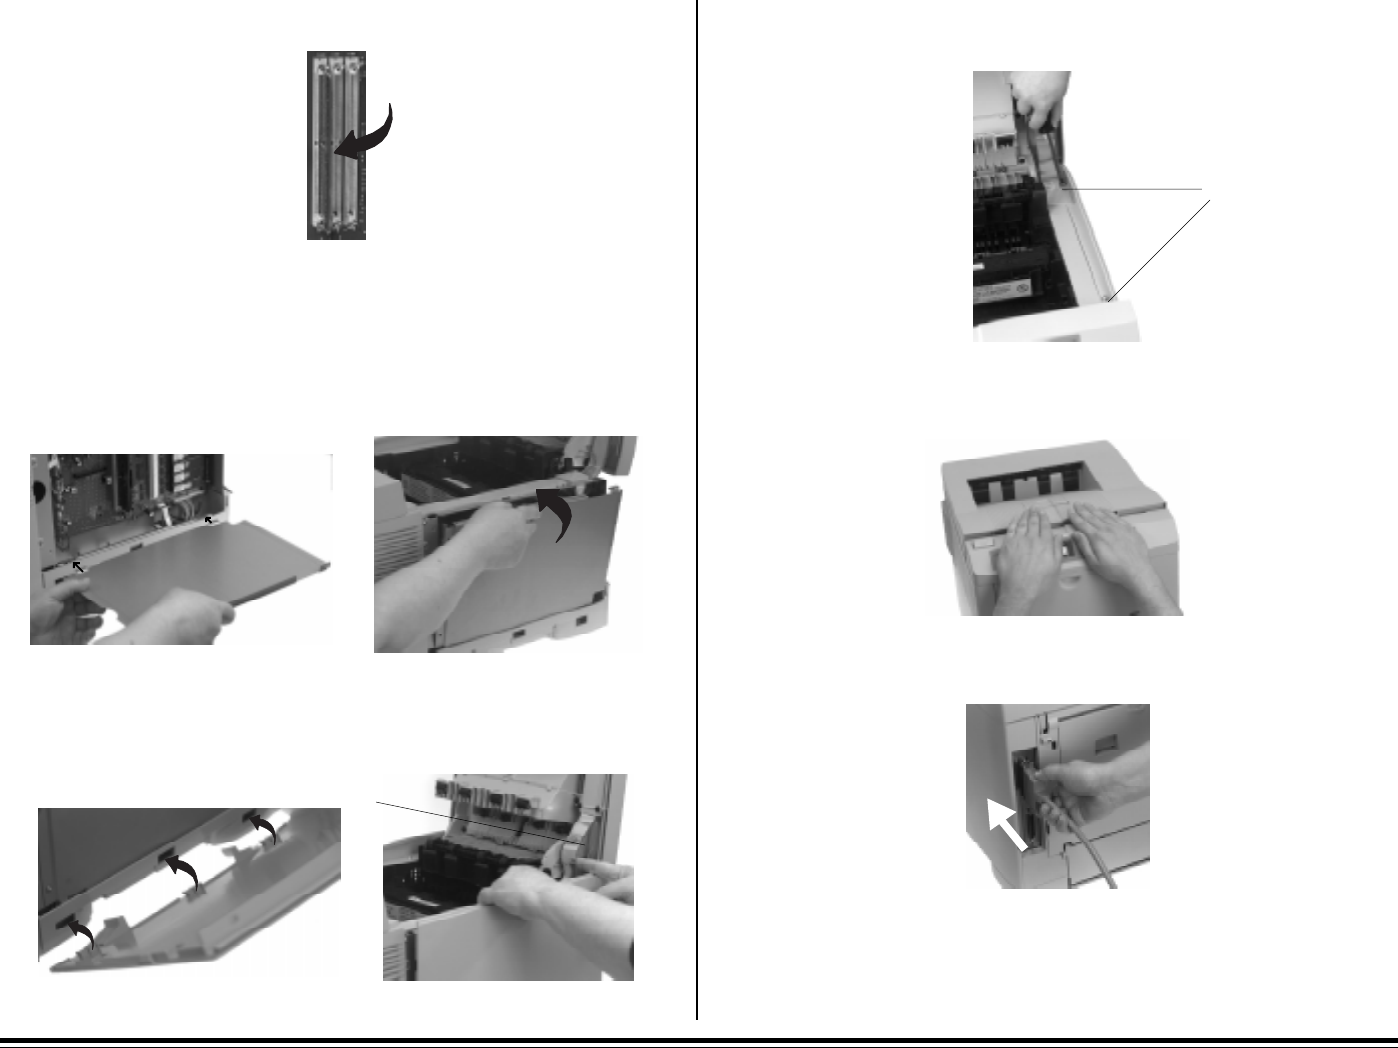
c. Pivot the SIMM to the left until it snaps into place.
Note: Repeat steps a through c if you are installing additional SIMMs,
working from left to right.
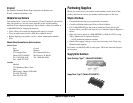
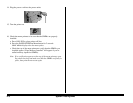
9. Insert the tabs on the metal plate into the slots on the printer housing,
then swing it up into place and replace the two mounting screws.
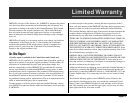
10. Replace the side panel (tabs go in slots): you’ll need to move the cover
hinge out of the way before you put the side panel back in place.
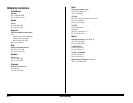
11. Secure the panel in place with the two screws.
12. Close the printer cover.
13. Reattach the PC interface cable.
Cover Hinge
Replace screws


