


10
4. Installation
To obtain warranty coverage fill out and return the warranty registration card now.
4.1 Inspection
Inspect the UPS upon receipt. Notify the carrier and dealer if there is damage. The packaging is re-
cyclable; save it for reuse or dispose of it properly.
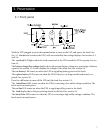
4.2 Placement
Tower Models
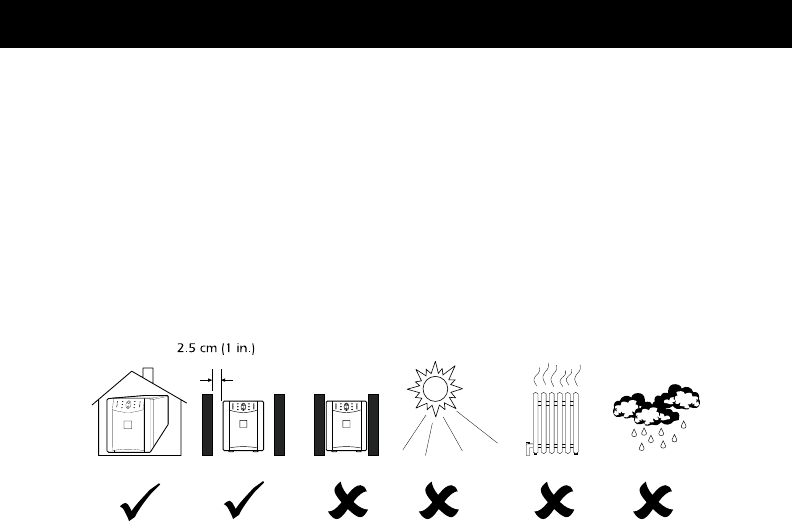
Install the UPS in a protected area with adequate air flow and free of excessive dust. Do not oper-
ate the UPS where the temperature and humidity is outside the specified limits. See section 12.
Allow the UPS to come to room temperature before continuing.
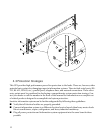
Rack Mount Models
Please observe the following items when installing the UPS.
■ The ‘T’ models are supplied with L-channel supports. These supports may be used to ease in-
stallation.
■ Caution: These models require two or more people to install due to their weight.
■ The UPS is not supplied with screws to attach the mounting brackets (ears) to the rack, as the
size of screw varies according to the type of rack used.
■ UPSs are heavy. Select a rack location sturdy enough to handle the weight. Try to mount the
UPS near the bottom of the rack.
■ Select a rack location with adequate air flow that is free from excessive dust. Ensure that the
air vents on the sides of the UPS are not blocked. Do not operate the UPS where temperature
or humidity are outside the limits in Section 12 of the User’s Manual.
■ Caution: Remove the UPS before transporting the rack.
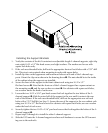
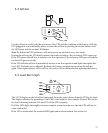
■ Two additional sets of bracket holes are located on the sides of the UPS (see below). These
holes allow mounting the brackets with a three inch or six inch setback. Move the mounting
brackets back if desired to optimize the esthetic or physical requirements of the rack.
Caution: Check the rack to make sure it won't tip after moving the mounting brackets.