


Chapter 7. User Management
119
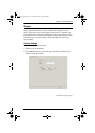
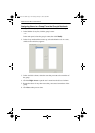
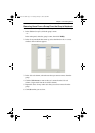
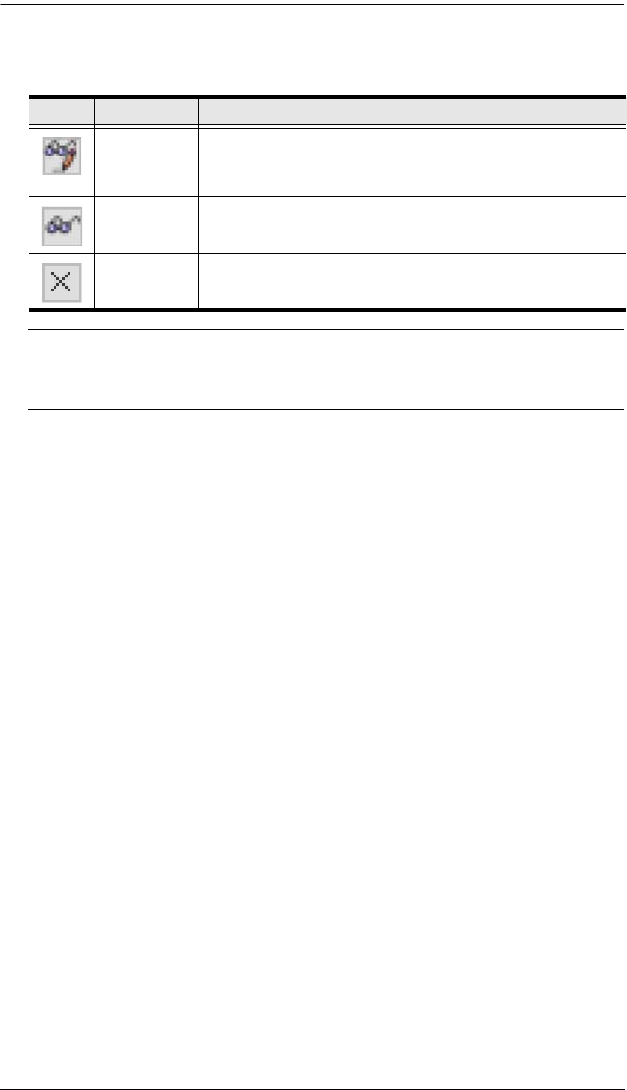
3. Under the Access or USB column, click the icon that corresponds to the
port you want to configure to cycle through the choices, as shown below:
Note: You can use Shift-Click or Ctrl-Click to select a group of ports to
configure. Clicking to cycle through the choices on any one of the
selected ports causes all them to cycle in unison.
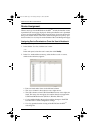
4. Under Config, click the icon to toggle the choices. A check mark (
√ )
indicates that the user has permission to make changes to the KVM Over
the NET
TM
switch configuration settings (see Chapter 8, Device
Management); an X means that the user is denied permission to make
configuration changes.
5. Under View Log, click the icon to toggle the choices. A check mark (
√ )
indicates that the user has permission to view the KVM Over the NET
TM
switch’s log files; an X means that the user is denied permission to view
the files.
6. When you have finished making your choices, click Save.
7. In the confirmation popup that appears, click OK.
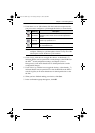
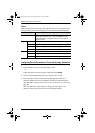
Icon Meaning Description
Full Access
The user can view the remote screen and can perform
operations on the remote server from his keyboard and
monitor.
View Only
The user can only view the remote screen; he cannot
perform any operations on it.
No Access
No access rights - the Port will not show up on the User's
list on the Main Screen.
kn2124v-4132.book Page 119 Tuesday, January 12, 2010 5:08 PM