6. For on-demand supplies, make sure you calibrate over paper – lay the supply across the
paper path as shown.
7.
Close the supply cover, then touch Calibrate Sensor to calibrate the On-Demand sensor.
The printer feeds one or two labels to calibrate the on-demand sensor. When the
calibration is successful, a message appears: “On Demand stock sensor calibration
successful.” Touch OK.
Note: If you want to feed a blank label, touch Feed.
8. Touch OK to return to the Printer Diagnostics window.
OR
Touch X to return to the desktop.
Testing the Sensors
6-6 System Administrator’s Guide
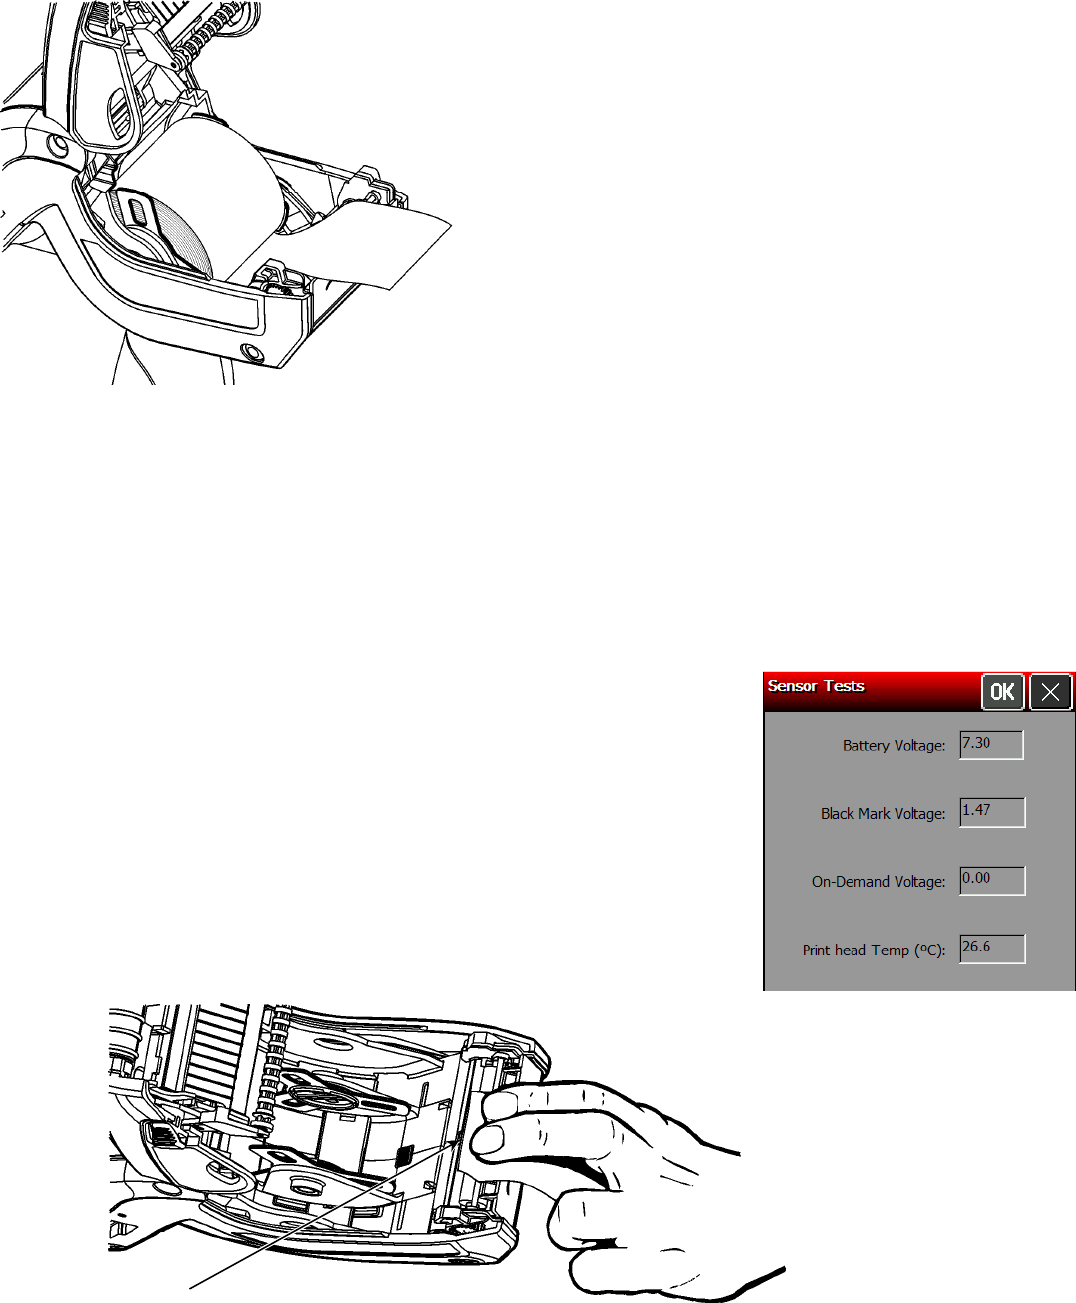
Black Mark Sensor
Place black mark over
sensor.
1. Select Sensor Tests from the Printer Diagnostics window.
2. You see the values for battery voltage, black mark voltage, on-
demand voltage, and printhead temperature. The battery voltage
range is between 7.0 and 8.4 volts. The printer does not print if
the voltage is below 7.0.
3. Open the cover to test the sensors.
For the Black Mark sensor, hold a black mark against the sensor as
shown. When you place the black mark on the sensor, the values
change on the display. If white is over the sensor, the values shown
for the sensor are higher. The range is between 0 and 5.0.


