Chapter 5: Local Port Operation 47
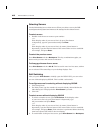
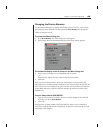
To determine how the status fl ag is displayed
1. Select Name to display the server by name or select Port to display by
port number.
2. Select Displayed to show the fl ag all the time or select Timed to display the
fl ag for only 5 seconds after switching.
3. Select a fl ag color in Display Color.
4. In Display Mode, select Opaque for a solid color fl ag or select Transparent
to see the desktop through the fl ag.
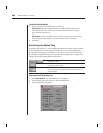
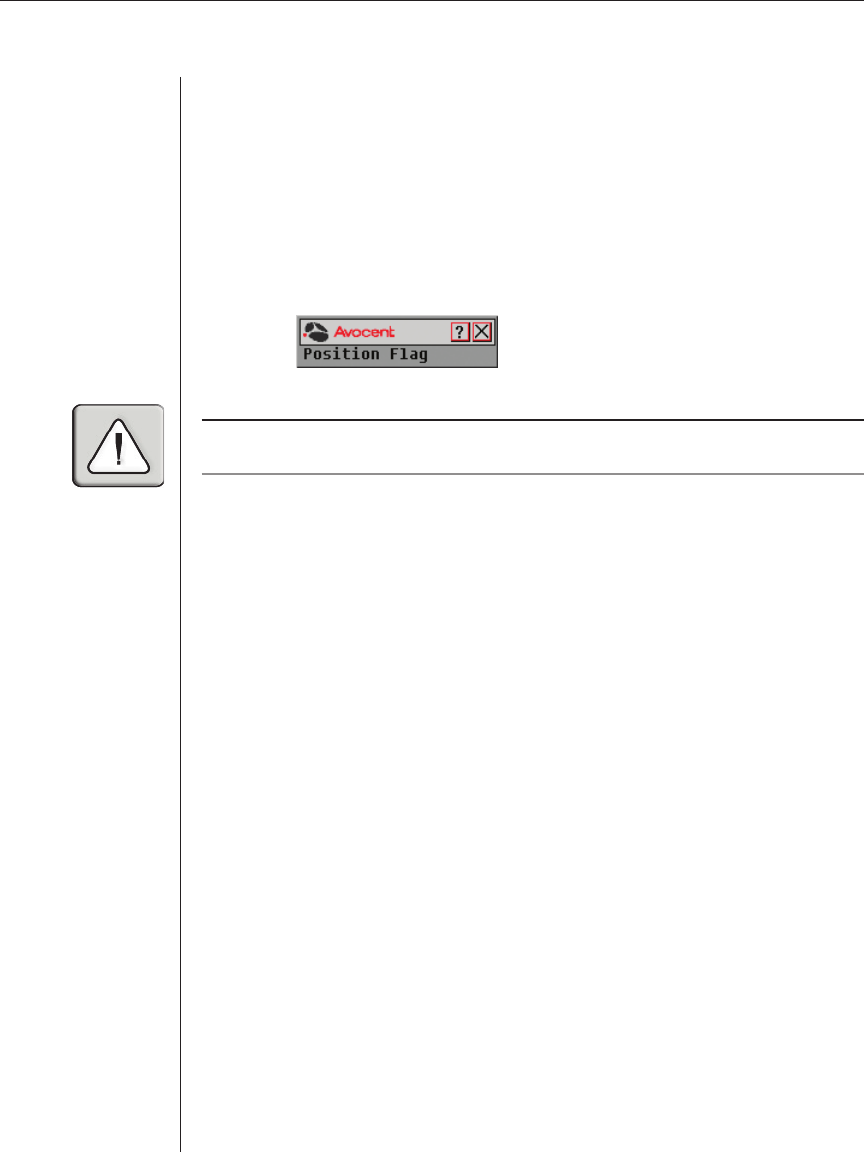
5. To position the status fl ag on the desktop:
a. Click Set Position to gain access to the Position Flag screen.
b. Left click on the title bar and drag to the desired location.
c. Right click to return to the Flag dialog box.
NOTE: Changes made to the fl ag position are not saved until you click OK in the Flag
dialog box.
6. Click OK to save settings or click X to exit without saving changes.
Setting Console Security
Use the Security dialog box to set security on your local port console. You can
establish a screen saver mode that engages after your console remains unused
for a user-definable time delay. Once engaged, your console will remain locked
until you press any key or move the mouse. You will then need to type in your
password to log in.
Use the Security dialog box to lock your console (monitor, keyboard, and
mouse) with password protection, set or change your password and enable
the screen saver.
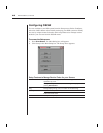
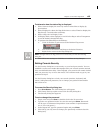
To access the Security dialog box
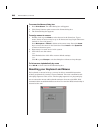
1. Press Print Screen. The Main dialog box will appear.
2. Click Setup-Security to gain access to the Security dialog box.
4. The Security dialog box appears.
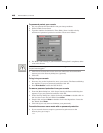
To set or change the password
1. Single-click and press Enter or double-click in the New text box.
2. Type the new password in the New text box and press Enter. Passwords
can be up to 12 characters long and are case sensitive. Legal characters
are: A-Z a-z 0-9 (space) -.
3. In the Repeat box, type the password again and press Enter.
4. Click OK (if you only want to change your password) and then close the
dialog box).


