


Section 3: Setup for NetWare
Axis NPS 550 User’s Manual 19
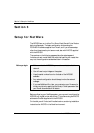
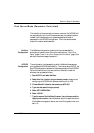
Print Server Mode (Parameter Controlled)
This is similar to the automatic print server mode, but the NPS 550 will
not automatically log in to all file servers and scan for queues to service.
Instead, the file servers and print queues are specified by a set of
parameters in the NPS 550 configuration. This is the recommended
method for medium-sized networks.
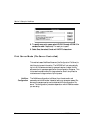
NetWare
Configuration
The NetWare configuration is identical to the one described for
automatic print server mode. Follow the instructions in “Add a Print
Server” (page 17) and “Link a Print Queue to the Print Server” (page 18) to
add a print server and assign queues to it.
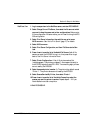
NPS 550
Configuration
The configuration involves specifying which NetWare file servers and
print queues the NPS 550 shall attach to. This is done using AXCFG, the
Axis NPS configuration software on the disk supplied with the NPS 550.
Follow the instructions in the read.me file on the disk to install the
software, then proceed as follows:
1. Start AXCFG, and select NetWare.
2. Select No at the ‘Look for old print servers’ prompt unless you are
configuring an NPS 550 with software revision prior to 4.20.
3. Choose Select All Networks, then select your NPS 550.
4. Type root and pass at the login prompt.
5. Select NETWARE MENU.
6. Select LOGIN1.
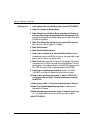
7. Type the name of the NetWare file server, the print queue, and the
logical printer number. Use the file server and print queue name from
the NetWare configuration above, and one of the logical printer num-
bers 1–8.