


Section 3: Setup for NetWare
26 Axis NPS 550 User’s Manual
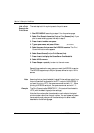
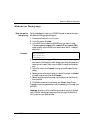
NetWare 4.xx: 1. Select Print Servers from the PCONSOLE Main Menu.
2. Select the NetWare Print Server to which you want to link your
NPS 550.
3. Select Printers.
4. Press <Insert> to add a remote printer to the Defined Printers list.
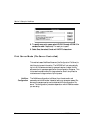
5. Type
AXIS<nnnnnn>!n
at the Printer: prompt.
(see notes below)
<
nnnnnn> are the last six digits of the NPS 550 serial number, and n is
the logical printer number 1–8.
6. Select AXIS<nnnnnn>!n.
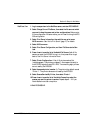
Important: Always use printer numbers 1 and higher; the NPS 550
will not detect any remote printers with printer number 0.
7. Make a note of the NetWare print server name and the Printer
number; you will need it later during the configuration.
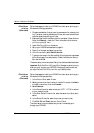
8. Select Printer type: , and change to
Other/Unknown
.
9. Select Print Queues Assigned, then press <Insert>
10.Press <Insert>, then select the queue you want to use from the Avail-
able Print Queues list. Repeat this step if you want more than one
queue.
11.Press <F10> to save the changes, then press <Esc>.
12.Press <Esc> to get back to the Main Menu, then exit PCONSOLE.
Repeat this procedure for each file server and print server using the NPS
550.
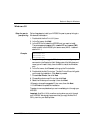
Notes: 1. If the serial number of your NPS 550 is 00408C100086
, then the
default name is AXIS100086
. The serial number is found on the label
at the back of the NPS 550.
2. You may change the default name using AXCFG, the Axis Configura-
tion Software. This must be done before running PCONSOLE.
3. You may define up to eight remote printers, each attached to its own
NPS 550 logical printer. Each remote printer must have a unique
name distinguished by the !n extension.