33
STEP
1
STEP
2
STEP
3
For WindowsFor Macintosh
STEP
4
Before using the
printer
Maintenance and
Troubleshooting
Using only this printer
(No PC)
Connecting to your PC
Introduction
It is possible to add/reduce the date of the template to/from the current date. It is also
possible to fix it to a specified date.
• In Time Display mode, the current date is displayed even if adding/reducing/fixing
the date.
• The settable item varies depending on the content of template.
The following explains an example when selecting the template "[P01]Date".
When selecting addition or subtraction
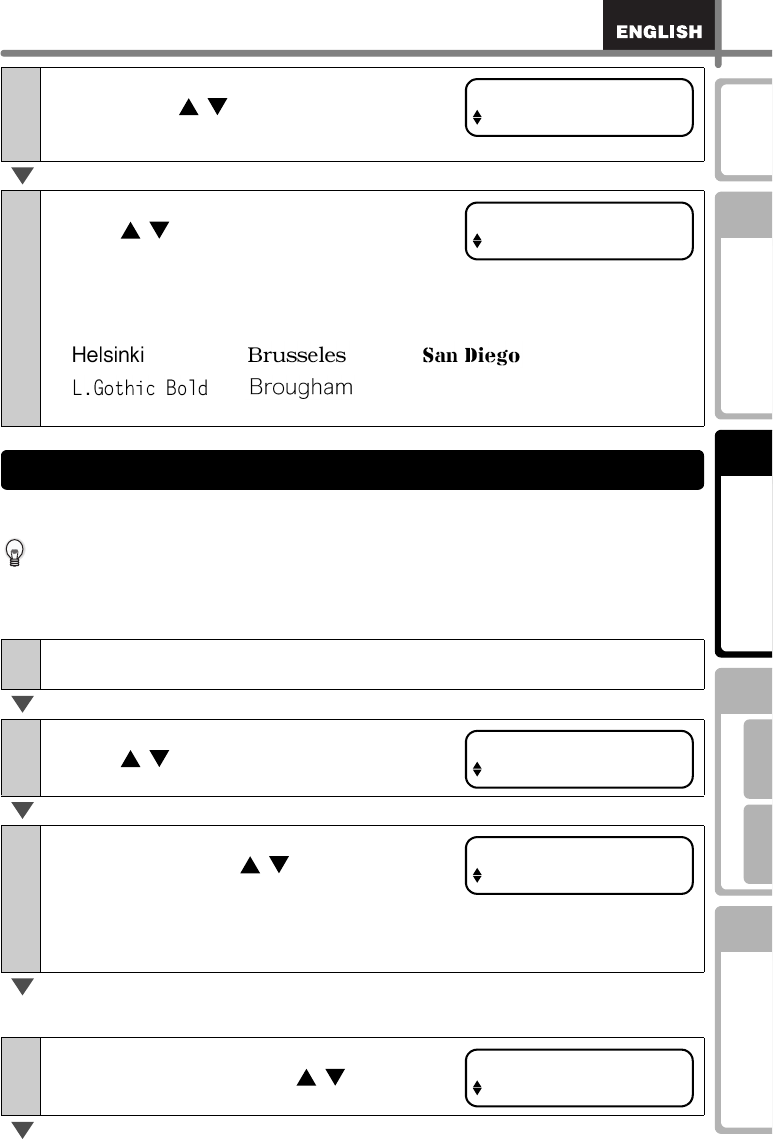
5
Select the time format by up or down
arrow button ( / ) and press OK button.
The time format is determined, and then font
selection mode is displayed.
6
Select the font by up or down arrow
button ( / ) and press OK button.
The setting is saved and the screen returns to
Time Display mode.
Type of font
1
Press the Menu button in Time Display mode.
Menu Selection mode is displayed.
2
Select "Menu 2" by up or down arrow
button ( / ) and press OK button.
Date addition selection mode is displayed.
3
Select addition/subtraction/fix by up or
down arrow button ( / ) and press OK
button.
• (+) : Addition (adds the specified value to the current date.)
• (-) : Subtraction (reduces the specified value from the current date.)
• Set : Fix (specifies the arbitrary date.)
4
Select the unit of addition/subtraction by
up or down arrow button ( / ) and
press OK button.
Time Fmt [P07]
12:34 (24)
Font [P07]
L.Gothic Bold
•••
••
Adding/reducing/fixing the date of the template: Menu 2
Menu 2/12
Date/Time Incr
Date [P01]
(+);Years :000
Date [P01]
(+);Months :000
