


43
STEP
1
STEP
2
STEP
3
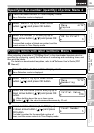
For WindowsFor Macintosh
STEP
4
Before using the
printer
Maintenance and
Troubleshooting
Using only this printer
(No PC)
Connecting to your PC
Introduction
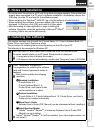
• Do not connect this printer to a PC until the prompt message appears. If this printer has
already been connected to a PC prior to software installation, immediately remove the
USB plug from the PC and wait for the software prompt.
• When installing it to Windows
®
2000/XP, log in by the authority of administrator.
• When installing the software, the screen shown right may be
displayed. At this time, click [OK] and install it all over again.
•
After terminating all other applications, begin installing the
software. Especially, when the application of Microsoft
®
Office
®
is running, Add-In may not be set correctly.
This section explains how to install the P-touch Editor 4.2, P-touch Address Book 1.0,
Printer Driver, and User's Guide as a whole.
The procedure for installing them varies depending on the OS of your PC.
The following is the example for Windows XP.
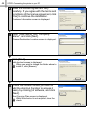
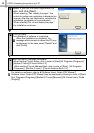
1
Start up the PC and insert the CD-ROM into CD-ROM drive.
QL-series Installer starts up and P-touch Setup screen is displayed.
• It may take a time to display the screen.
• If it does not start up automatically, double click "Setup.exe" icon in CD-ROM.
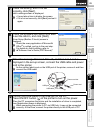
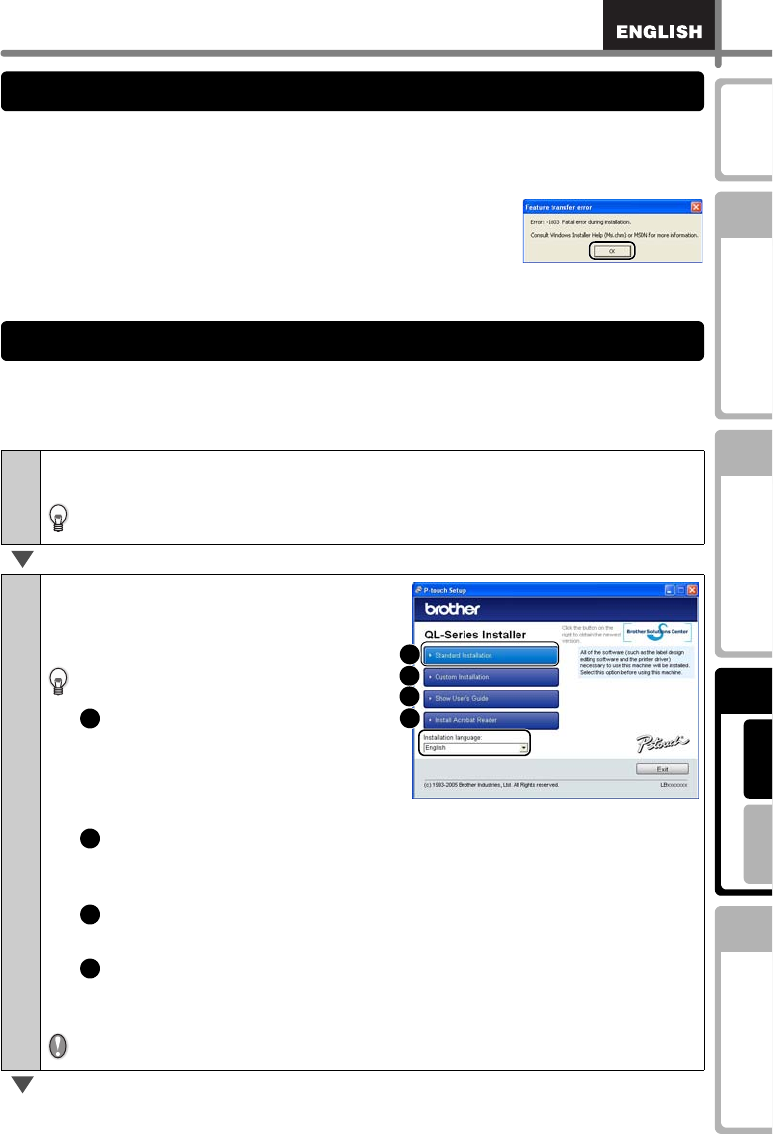
2
Click "Standard Installation".
The preparation for installing the software
starts and License Agreement screen is
displayed.
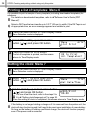
Each button enables the following
operation.
Standard Installation
P-touch Editor 4.2,
P-touch Address Book 1.0,
Printer Driver, and User's Guide
can be installed as a whole.
Custom Installation
P-touch Editor 4.2, P-touch Address Book 1.0, Printer Driver, and User's
Guide can be installed individually.
Show User's Guide
Software User's Guide (PDF Manual) can be referenced without installing it.
Install Acrobat Reader
"Adobe
®
Acrobat
®
Reader
®
" to reference Software User's Guide (PDF
Manual) can be installed.
Adobe
®
Acrobat
®
Reader
®
5.0 will be installed. If you have higher version, do
not install it.
2. Notes on installation
3. Installing the software
1
2
3
4
1
2
3
4