


45
STEP
1
STEP
2
STEP
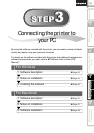
3
For WindowsFor Macintosh
STEP
4
Before using the
printer
Maintenance and
Troubleshooting
Using only this printer
(No PC)
Connecting to your PC
Introduction
7
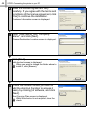
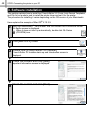
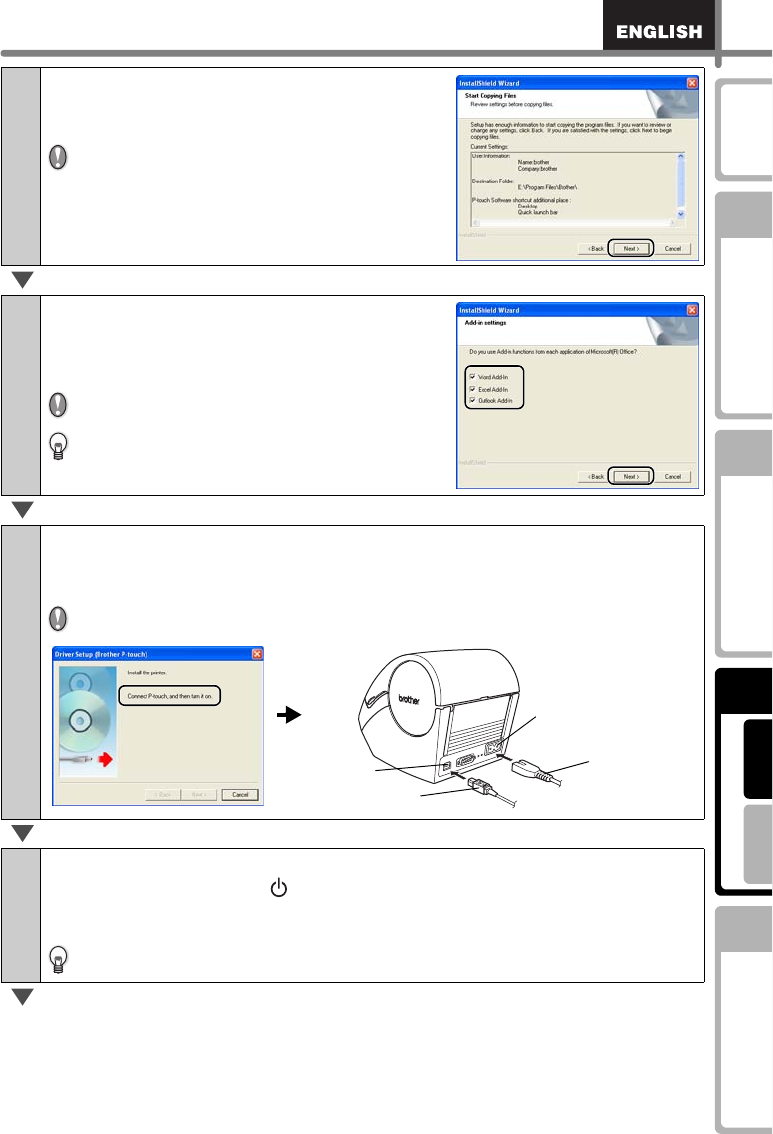
Check the setting, and if it is set
correctly, click [Next].
Add-In settings screen is displayed.
• It may take a time to display the screen.
• If it is not set correctly, click [Back] and set it
again.
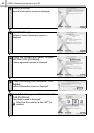
8
Check the software with which you want
to set the Add-In, and click [Next].
Driver Setup (Brother P-touch) screen is
displayed.
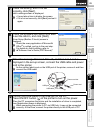
Check the every application of Microsoft
®
Office
®
is quitted, and go to the next step.
For details on Add-In setting, refer to
Î"Software User's Guide (PDF Manual)".
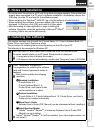
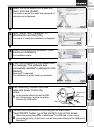
9
When the message "Connect P-touch, and then turn it on." is
displayed in the set-up screen, connect the USB cable and power
cord to the printer.
As the caution label is put on the USB port of the printer, remove it and then
connect the USB cable.
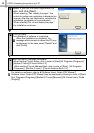
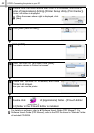
10
Connect the USB cable to the USB port of the PC.
Press ON/OFF button ( ) of the printer to turn on the power.
When the PC recognizes the printer and the installation of driver is completed,
User Registration screen is displayed.
When connecting the printer to PC via USB hub, it may not be connected
correctly. At that time, connect the printer directly to the USB port of PC.
USB cable
Power cord
USB port
Power cord slot