


Fax
5-50
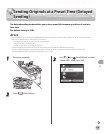
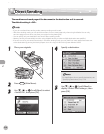
Sending Originals at a Preset Time (Delayed Sending)
4
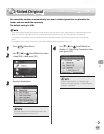
Specify a destination.
For details about how to specify destinations, see
“Specifying Destinations,” on p. 5-30.
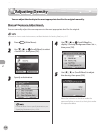
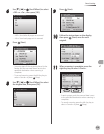
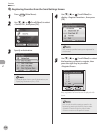
5
Use [▼], [▲] or (Scroll Wheel) to
display <Delayed TX Settings>, then press
[OK].
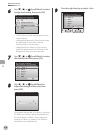
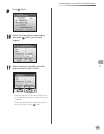
6
Enter the send time using
–
(numeric keys), then press [OK].
Enter all four digits of the time (including
zeros), using 24- hour notation.
Examples:
3:50 p.m.→1550
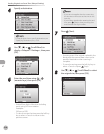
To cancel to enter the time, press the left Any
key to select <Cancel> to return to the
previous screen.
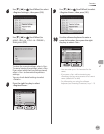
–
–
If you set a time earlier than the current time,
the document will be sent at that time on the
next day.
If you make a mistake when entering the send
time, press (Clear) to clear your entry, then
enter another four-digit number.
–
–
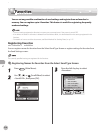
7
Press (Start).
Scanning starts if the original is placed in the
feeder, and the scanned data is sent to the
specied destination when scanning is
complete.
To cancel scanning, press the left Any key to
select <Cancel> or press
(Stop).
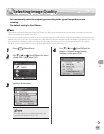
8
Use [▼], [▲] or (Scroll Wheel) to select
the original size, then press [OK].
–
–