49
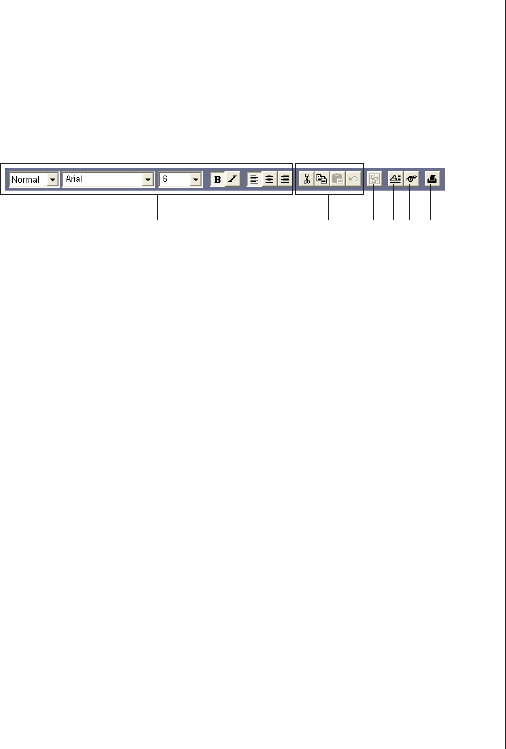
5 Image Button
Click this button to input an image or to select a background image
(page 51).
6 Print Button
Prints the label (page 16).
Free Design Template
See “Free Text Template” for information about 1 and 3.
5 Layout Button
Alignment
The commands in this submenu align fields on a reference field.
–Left Aligns the selected fields on their left sides.
–Center Horizontally Aligns the selected fields on their horizontal
centers.
–Right Aligns the selected fields on their right sides.
–Top Aligns the selected fields on their tops.
–Center Vertically Aligns the selected fields on their vertical
centers.
–Bottom Aligns the selected fields on their bottoms.
Uniform Spacing
–Vertical Arranges three or more fields so they are
evenly spaced vertically.
–Horizontal Arranges three or more fields so they are
evenly spaced horizontally.
Center
–Vertical Centers the selected fields vertically in the
print area.
–Horizontal Centers the selected fields horizontally in
the print area.
Send
–To Front Sends the selected field to the front of all
the fields.
–To Back Sends the selected field to the back of all
the fields.
–Forward Sends the selected field one level forward.
–Back Sends the selected field one level back.
Resize
–By Width
–By Height Makes all of the selected fields the same
height and/or width.
–By Height and Width
Other
–Maximize Enlarges the field so it fills the print area.
–Center Moves the field to the center of the print
area.
–Maintain Aspect
Maximizes the field while maintaining its
Ratio and Center aspect ratio, and centers it in the print area.
6 Text Input Button
Inputs a text field (page 53).
7 Image Button
Inputs an image field (page 54).
8 Print Button
Prints the label (page 16).
Important!
Certain fonts and font size settings can cause poor printing results.
31567 8


