50
Configuring Font Settings
(Free Text Template, Free Design Template)
This section describes how to configure font settings for text you input
manually into the work area, or text you import.
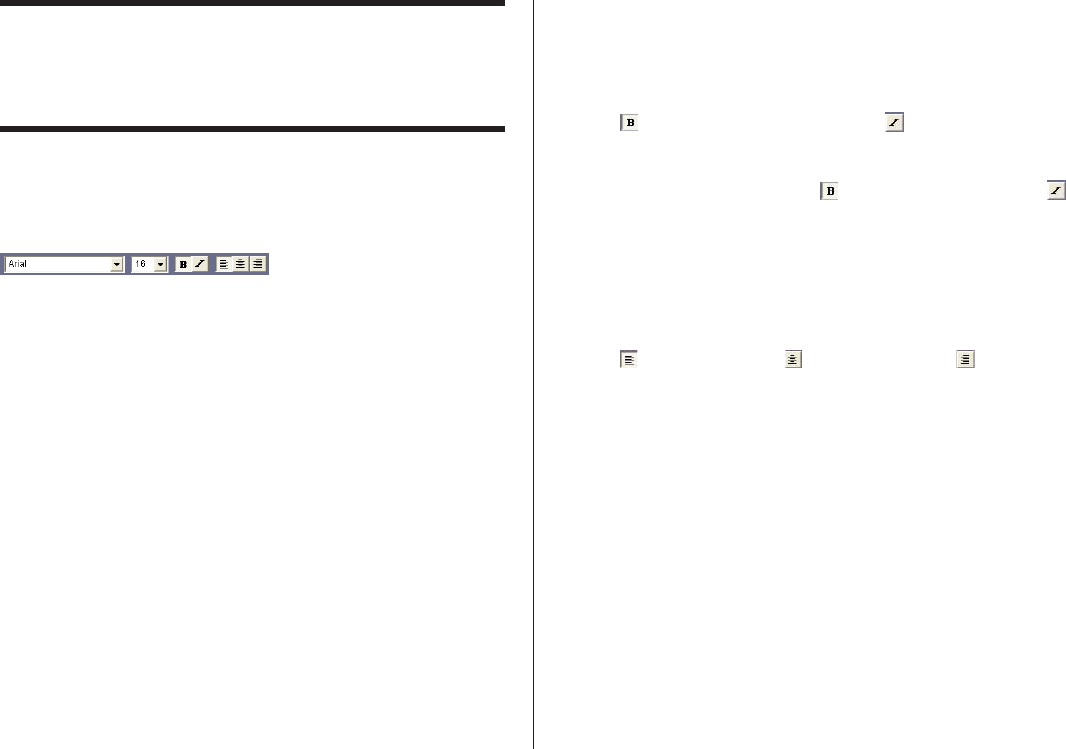
You can select font, font size, font style, and text alignment from the
toolbar.
Font Setting Tools
■ To specify the font
1.
Input text into the work area.
2.
Highlight the characters whose font setting you want to edit.
3.
On the toolbar, click the down arrow button, and then select the font
you want from the list that appears.
• Your font selection is reflected in the work area and the preview
image.
■ To specify the font size
1.
Input text into the work area.
2.
Highlight the characters whose font size you want to specify.
3.
On the toolbar, click the down arrow button, and then select the font
size you want from the list that appears.
• Your font size selection is reflected in the work area and the preview
image.
• If the font size you want is not included in the list, select the font
size box in the toolbar and type in the size you want.
■ To change font style settings
You can use the following procedure to italicize or bold text.
1.
Input text into the work area.
2.
Highlight the characters whose font style setting you want to change.
3.
Click to make the selected text bold, or to make the text italic.
• Your font style setting is reflected in the work area and the preview
image.
• Selecting bold text and clicking or italicized text and clicking
removes the corresponding style and returns the text to normal.
■ To change the alignment of text
You can align text so it is left-aligned, centered, or right-aligned.
1.
Input text into the work area.
2.
Locate the cursor inside the text whose alignment you want to change.
3.
Click to left-align the text, to center the text, or to right-align
the text.
• The alignment you specify is reflected in the work area and the
preview image.


