Back to Contents Page
Dell™Optiplex™960MiniTower/Desktop/SmallFormFactorServiceManual
I/O Assembly
I/O Assembly
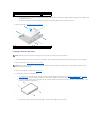
Removing the I/O Assembly
1. Perform the procedure Before Working on Your Computer.
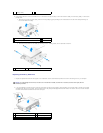
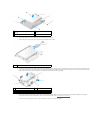
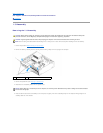
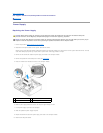
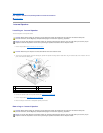
2. Remove the bezel by releasing the three securing tabs and rolling it away from the top edge of the computer.
3. Remove the optical drive (see Removing an Optical Drive).
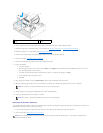
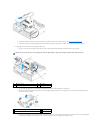
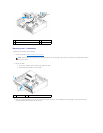
4. Disconnect the I/O assembly cables from the system board.
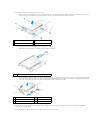
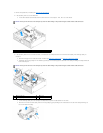
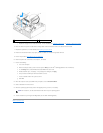
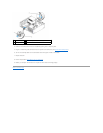
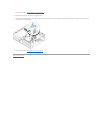
5. Press the tab that secures the I/O assembly to the front panel, and gently move the I/O assembly away from the computer while guiding the I/O
assembly cables out of the chassis.
.
CAUTION: Before working inside your computer, read the safety information that shipped with your computer. For additional safety best
practices information, see the Regulatory Compliance Homepage at www.dell.com/regulatory_compliance.
CAUTION: To guard against electrical shock, always unplug your computer from the electrical outlet before removing the cover.
NOTE: Note the routing of all cables before disconnecting them, so that you can re route them correctly when installing the new I/O assembly.
1
bezel
2
securing tabs (3)
NOTICE: When sliding the I/O assembly out of the computer, be extremely careful. Carelessness may result in damage to the cable connectors
and the cable routing clips.


