


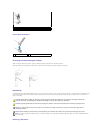

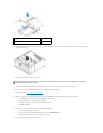

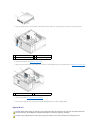
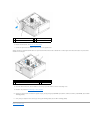
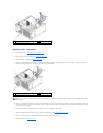
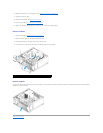
4. Align the shoulder screws on the floppy drive with the shoulder screw slots, and gently slide it into the bay until it clicks into place.
5. Replace the drive bezel (see Remove the Drive Bezel).
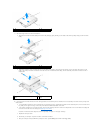
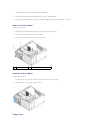
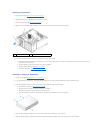
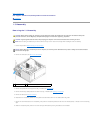
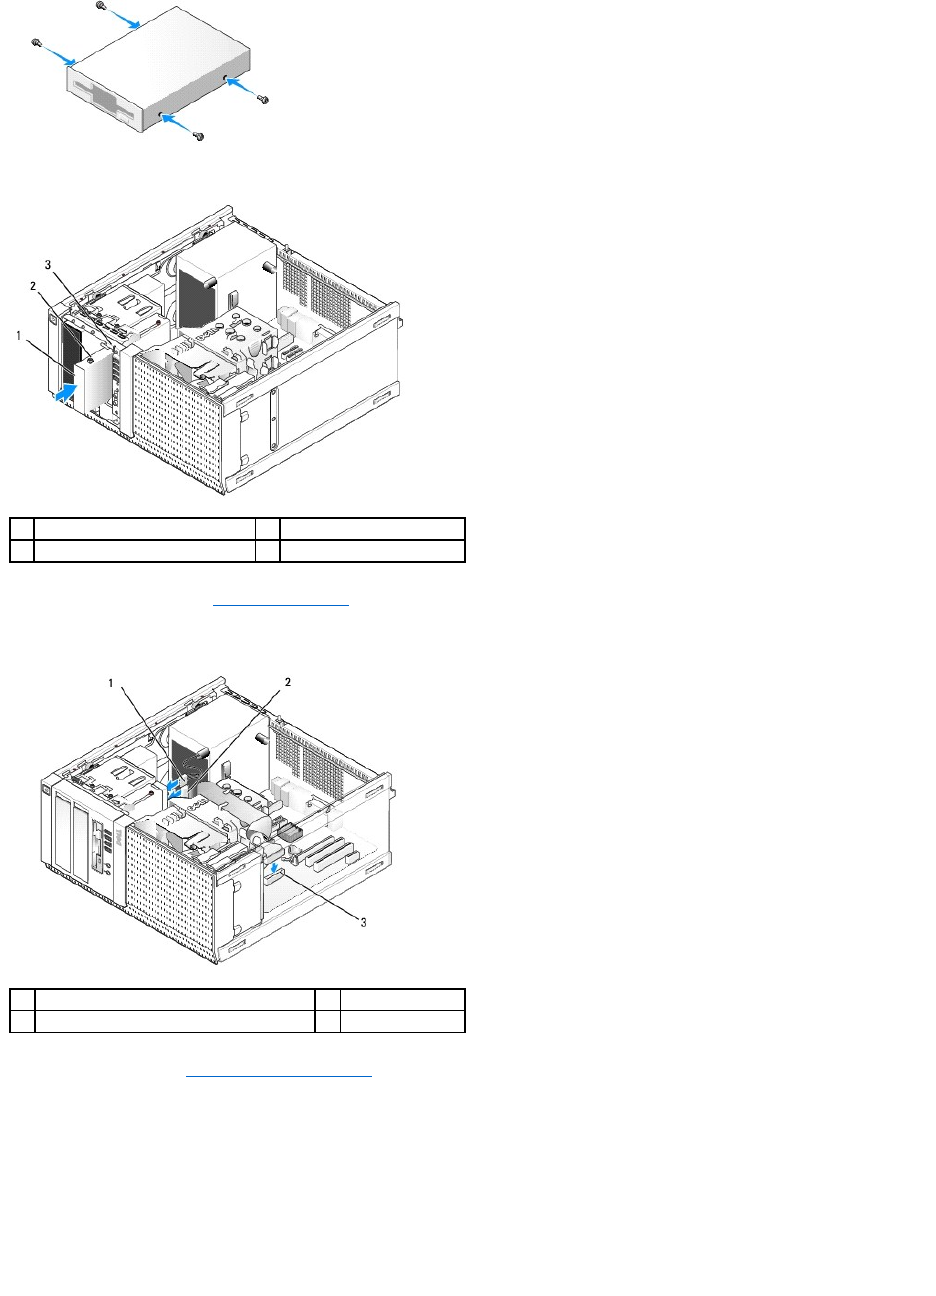
6. Attach the data cables to the floppy drive and to the system board. Route the data cable through the cable guides on the fan shroud. Attach the power
cable to the drive.
7. FPerform the procedure After Working on Your Computer.
8. If you are adding a floppy drive to the computer system:
a. Boot your computer and press F2 when prompted to enter system Setup (see the Dell
™
Technology Guide).
b. On the Settings menu, select Drives, then Diskette Drive.
c. Choose the option to Enable the floppy drive.
d. Click Apply, then Exit.
e. Reboot your computer.
9. Verify that your computer works correctly by running the Dell Diagnostics (see the Dell
™
Technology Guide).
1
floppy drive
2
shoulder screws (4)
3
shoulder screw slots (2)
1
data cable
2
power cable
3
floppy drive connector (DSKT)