


Dell
™
Latitude™ E6400 XFR Service Manual
Page 51
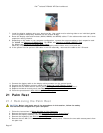
2. Remove the bottom access panel, LCD cable channel covers, display assembly, LED cover, palm rest overlay,
keyboard and palm rest (see Removing the Palm Rest
).
3. Remove the hard drive (see Removing the Hard Drive
).
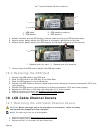
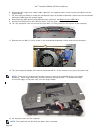
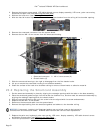
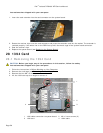
4. With the hard drive door open, carefully peel the smartcard gasket from the ceiling of the chamber opening.
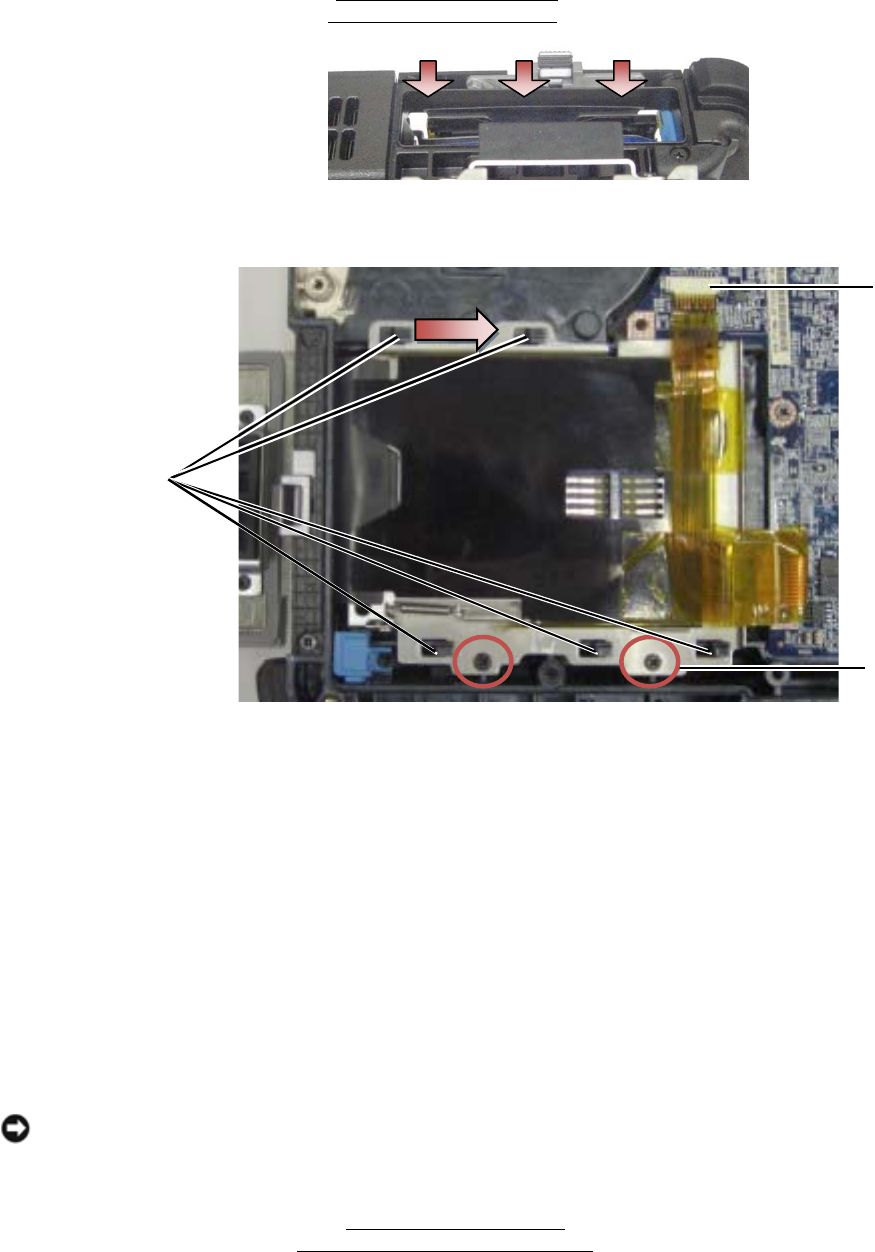
5. Remove the smartcard connector from the system board.
6. Remove the two M2 x 3-mm screws from the smartcard housing.
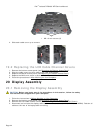
1 Smartcard connector 2 M2 x 3-mm screws (2)
3 Chassis hooks (5)
7. Slide the smartcard housing to the right to disengage from the five chassis hooks.
8. Lift up to remove the smartcard housing from the base assembly.
9. Clean the surface of the hard drive chamber ceiling to remove contaminants or adhesive material.
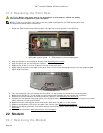
23.2 Replacing the Smartcard Assembly
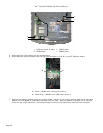
1. Set the smartcard assembly in place by aligning the rectangle openings with the tabs on the base assembly.
2. Place the smartcard gasket tongue into the hard drive chamber first, and then seat the smartcard assembly by
aligning the rectangle openings with the chassis hooks.
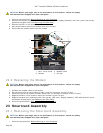
3. Slide the smartcard housing left until the screw holes are aligned with the screw embossments.
4. Replace the two M2 x 3-mm screws.
5. Reconnect the smartcard cable into the system board.
6. Remove the tape backing from the smartcard gasket and adhere to the chamber ceiling.
NOTICE: If improperly installed, the Smartcard gasket may not allow a card to be inserted or
removed from the smartcard reader. ALWAYS test insertion and removal after replacement.
7. Replace the palm rest, keyboard, palm rest overlay, LED cover, display assembly, LCD cable channel covers
and bottom access panel (see Replacing the Palm Rest
).
8. Follow the procedures in After Working on Your Computer
.
3
1
2