


Dell
™
Latitude™ E6400 XFR Service Manual
Page 53
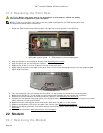
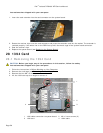
24.2 Replacing the Hard Drive
CAUTION: Before you begin any of the procedures in this section, follow the safety
instructions that shipped with your computer.
NOTICE: Hard drives are extremely fragile. Exercise care when handling the hard drive.
NOTICE: Use firm and even pressure to slide the hard drive into place. Excessive force may
result in damage to the connector.
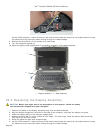
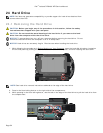
1. Orient the hard drive to the computer. With the computer in its upright position, the text on the hard drive
pull tab will be readable.
2. Slide the hard drive into the hard drive bay until you hear a click and a mechanical stop.
3. Close the hard disk drive door by rotating it up until it clicks into its locked position.
4. Follow the procedures in After Working on Your Computer
.
5. Install the operating system, drivers, and utilities for your computer, as needed. For more information, see
the Setup and Features Information Guide that shipped with your computer or at support.dell.com.
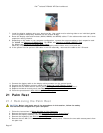
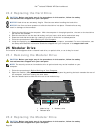
25 Modular Drive
The modular drive supports either a second hard drive, an optical drive, or an air bay for travel.
25.1 Removing the Modular Drive
CAUTION: Before you begin any of the procedures in this section, follow the safety
instructions that shipped with your computer.
NOTE: The security screw on the modular drive is optional and may not be installed on your
computer.
1. Follow the procedures in Before Working on Your Computer
.
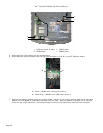
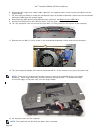
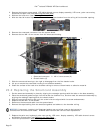
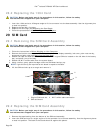
2. Open the modular (XBay) drive door located on the right side panel by pushing the latch towards the rear of
the computer, and then rotating the door down.
3. Use the release latch to slide the drive out of the modular bay.
1 Modular bay 2 Modular drive
3 Release latch
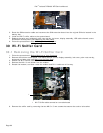
25.2 Replacing the Modular Drive
CAUTION: Before you begin any of the procedures in this section, follow the safety
instructions that shipped with your computer.
1
2
3