Removing and Replacing Parts on the Midsize Chassis 5-11
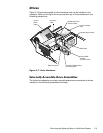
,QFK'ULYH$VVHPEO\
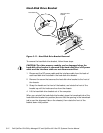
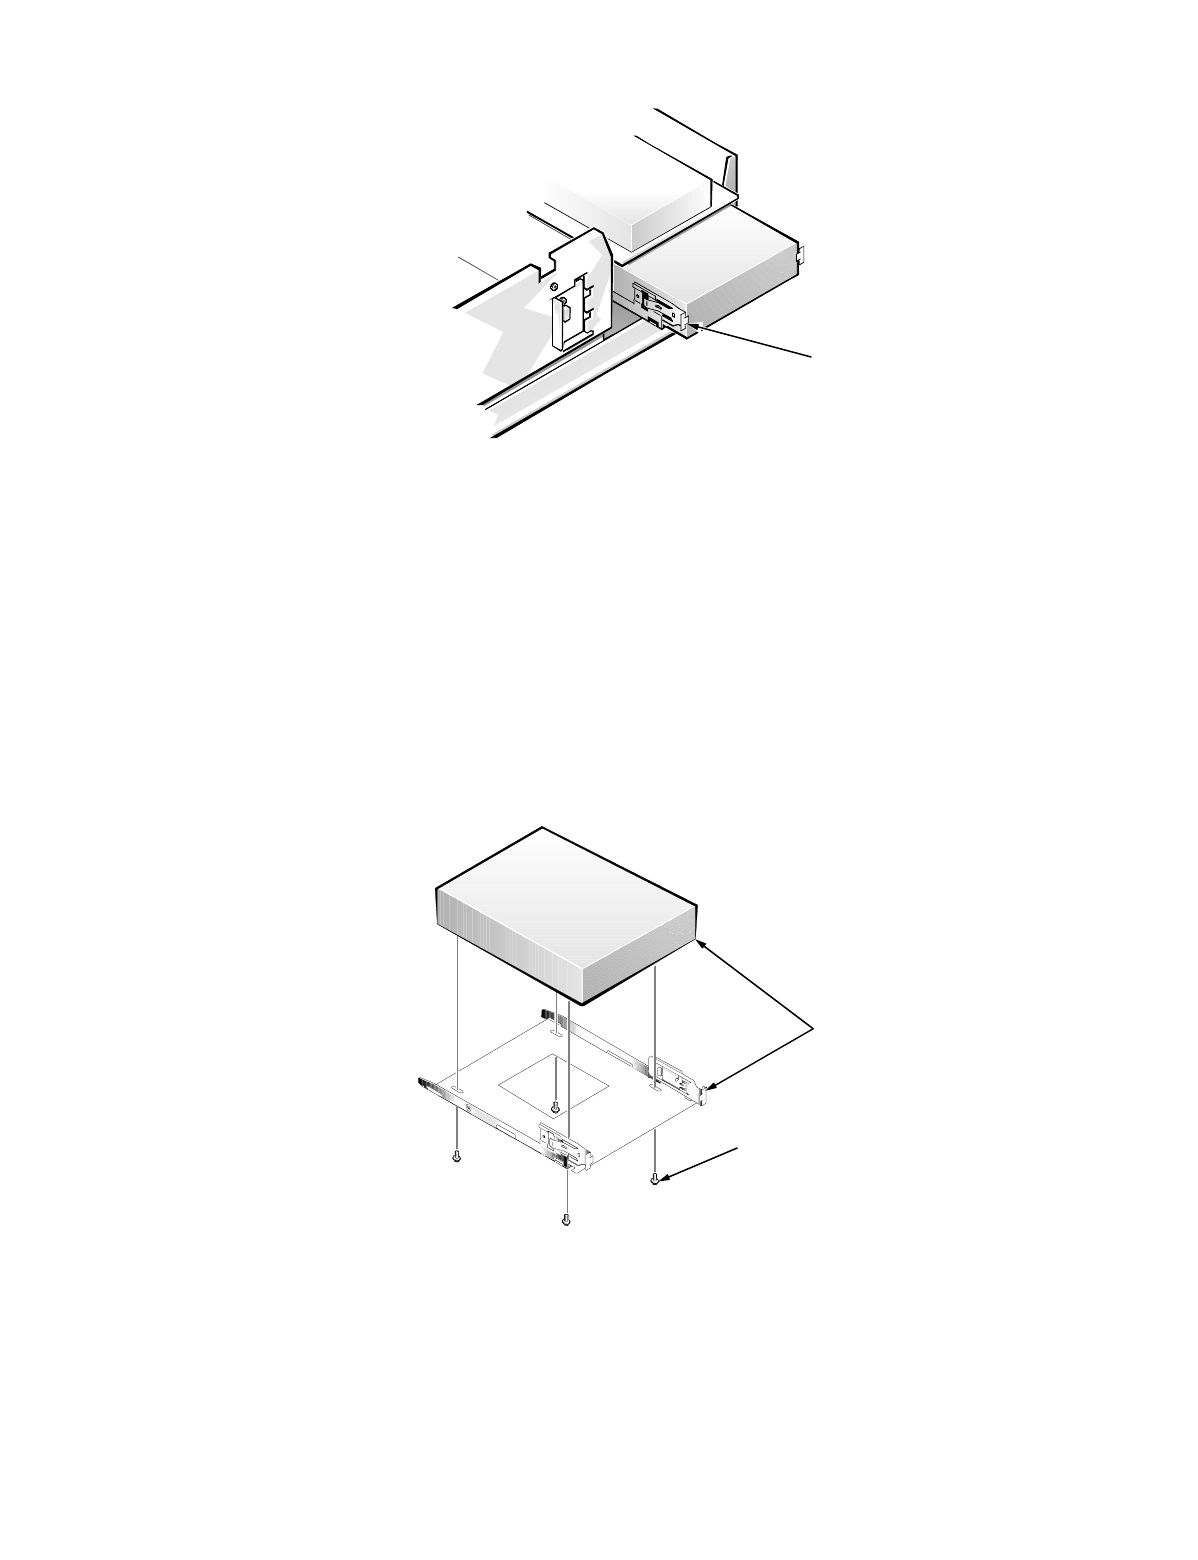
)LJ XUH,QFK'ULYH$VVHPEO\5HPRYDO
To remove a 5.25-inch drive assembly from the middle or lower drive bay, fol-
low these steps:
1. Disconnect the DC power cable and the interface cable from the back of
the drive.
2. Press in on the two retaining tabs (one on each side of the drive), and slide
the drive assembly forward to remove it.
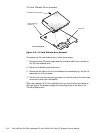
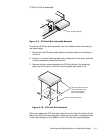
3. Remove the four screws attaching the 5.25-inch drive to the mounting
plate, and lift the drive out of the mounting plate (see Figure 5-10).
)LJXUH,QFK'ULYH5HPRYDO
When you replace the 5.25-inch drive, align the front of the drive flush with the
tab at the front of the mounting plate. Insert the four screws, and tighten them
in the order stamped on the bottom of the 5.25-inch drive-mounting plate.
retaining tabs (2)
Align the front of the drive
flush with the tab at the
front of the 5.25-inch
drive-mounting plate.
drive-mounting screws (4)


