


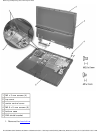

Removing and Replacing Parts: Dell Inspiron 4100
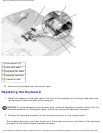
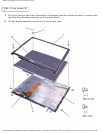
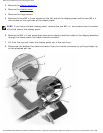
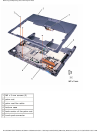
2. Remove the display assembly.
3. Remove the display bezel.
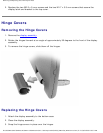
4. Remove the hinge covers.
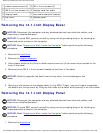
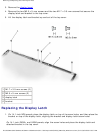
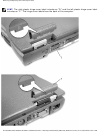
5. Remove the two M2 x 4-mm screws on the left side of the display panel and the two M2 x 4-
mm screws on the right side of the display panel.
HINT: If you have a Hitachi display panel, remove the two M2 x 4- mm screws from the center
of the left side of the display panel.
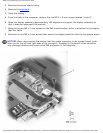
6. Remove the M2 x 4-mm screw that secures the display-feed flex cable to the display assembly
through the black plastic flex-cable retention bracket.
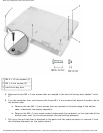
7. Lift from the top and rotate the display panel out of the top cover.
8. Disconnect the bottom flex-cable connector from the inverter connector by pulling straight up
on the attached pull tab.
file:///I|/SERVICE%20MANUALS/DELL%20MANUALS/LA...20ok/Inspiron/4100/4100_SERVICE_MAN/remove.htm (28 of 52)6/21/2004 1:02:31 AM