Removing and Replacing Parts: Dell Inspiron 4100
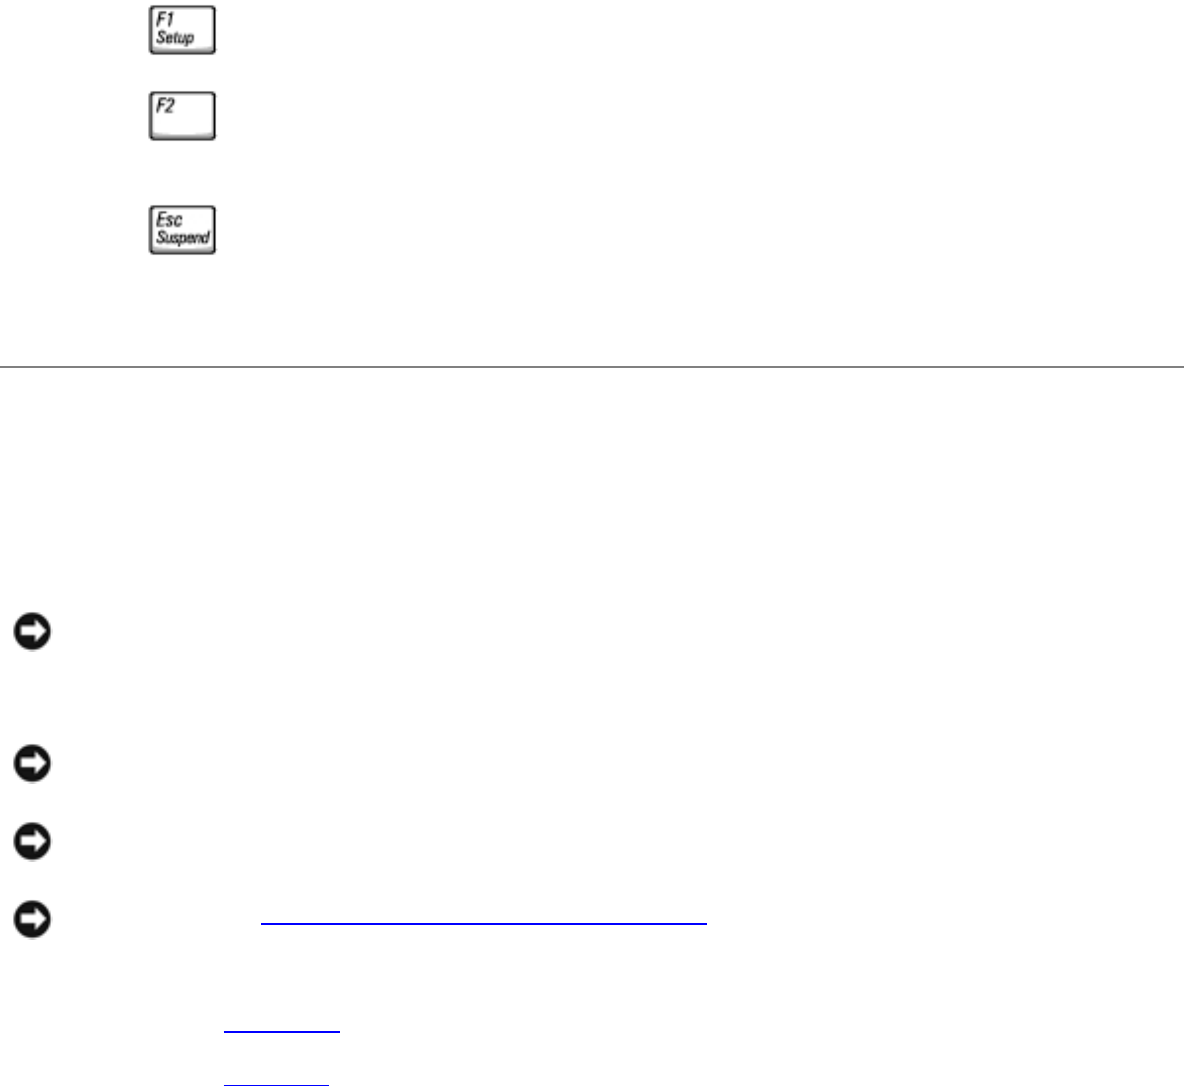
4. Press . The computer continues to boot and updates the new BIOS.
5. Press to enter the system setup program and reset the boot sequence with the
appropriate drive, if required.
6. Press to exit the system setup program.
7. Remove the flash BIOS update floppy disk or CD from the drive and restart the computer.
Reserve Battery
Removing the Reserve Battery
NOTICE: The reserve battery provides power to the computer's RTC and NVRAM when the
computer is turned off. Removing the battery causes the computer to lose the date and time
information as well as all user-specified parameters in the BIOS. If possible, make a copy of
this information before you remove the reserve battery.
NOTICE: Disconnect the computer and any attached devices from electrical outlets, and
remove any installed batteries.
NOTICE: To avoid ESD, ground yourself by using a wrist grounding strap or by touching an
unpainted metal surface on the computer.
NOTICE: Read "Preparing to Work Inside the Computer" before performing the following
procedure.
1. Remove the hard drive.
2. Remove the keyboard.
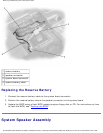
3. Disconnect the reserve battery cable from the system board connector.
4. Pry the reserve battery free from the system board. The reserve battery is attached to the
system board with a piece of adhesive tape.
5. Remove any remnants of the adhesive tape from the system board.
file:///I|/SERVICE%20MANUALS/DELL%20MANUALS/LA...20ok/Inspiron/4100/4100_SERVICE_MAN/remove.htm (41 of 52)6/21/2004 1:02:31 AM


