


Adding and Replacing Parts 137
8
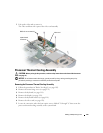
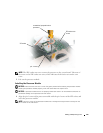
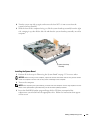
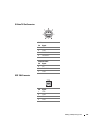
Turn the system top-side up again, and remove the four M2.5 x 6-mm screws from the
system-board top assembly.
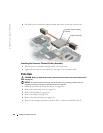
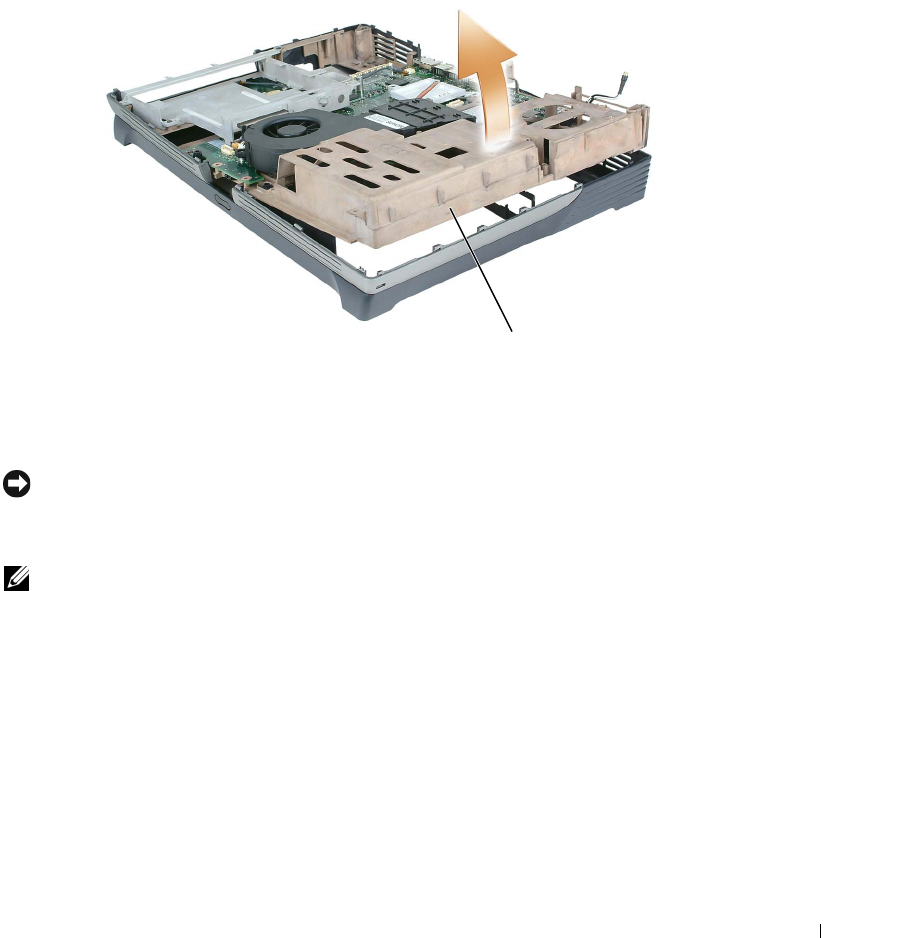
9
With the front of the computer facing you, lift the system-board top assembly from the right
side, swinging it up, then lift the left side and draw the system-board top assembly out of the
computer.
Installing the System Board
1 Perform all of the steps in "Removing the System Board" on page 135 in reverse order.
NOTICE: Before turning on the computer, replace all screws and ensure that no stray screws remain
inside the computer. Failure to do so may result in damage to the computer.
2
Turn on the computer.
NOTE: After replacing the system board, you must enter the computer Service Tag sequence into the
BIOS of the replacement system board as part of the BIOS update procedure.
3
Insert the flash BIOS update program floppy disk or CD that accompanied the
replacement system board into the appropriate drive. Follow the instructions that appear
on the screen.
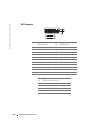
system-board top
assembly