Setting Up Network Projection 73
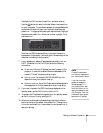
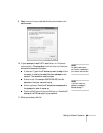
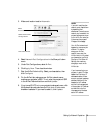
3. Make sure Location is set to Automatic.
4. Select
Network Port Configurations in the Show pull-down
menu.
5. Under Port Configurations, select
AirPort.
6. Click
Apply Now. Then close the window.
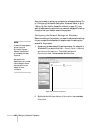
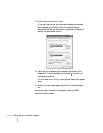
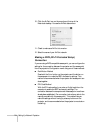
7. Start the AirPort Admin utility. Select your base station, then
click
Configure.
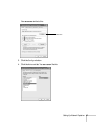
8. On the AirPort tab, make sure your AirPort network name
matches your projector’s SSID. If not, enter the projector’s SSID
in the AirPort Network text box and click
Update.
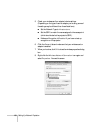
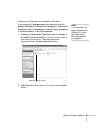
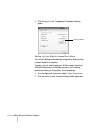
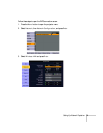
9. If you turned DHCP on in your projector’s advanced menu, click
the Network tab and make sure the
Distribute IP addresses
checkbox is selected. If you need to select it, click
Update.
Select
Automatic
Select Network Port
Configurations
Then select AirPort
note
If you don’t need the other
network ports, disable them
by deselecting their
checkboxes. If more than one
network port is enabled, the
projector software warns you
to turn off AirPort when you
first connect the projector.
Disregard this message.
Your AirPort network and
base station names may be
different. To check or
change your AirPort
network name, start the
AirPort Admin utility, select
your base station, and click
Configure. Click Show All
Settings, then make any
changes you want on the
AirPort tab.
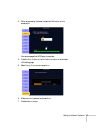
If you’re connecting to your
projector in static IP mode,
deselect the Distribute IP
addresses checkbox. Make
sure your projector’s gateway
address is identical to the
base station’s IP address,
and the first three segments
of the projector’s IP address
are identical to the first
three segments of the base
station’s IP address.


