32
Removing and Installing Ink Cartridges
You can replace a cartridge when the
B black or
A color ink out light is either
flashing or on. (If you perform these steps when both ink out lights are off, the printer
cleans the print heads as described on page 27.)
Be sure you have a new ink cartridge before you begin. Once you start the ink
cartridge replacement procedure, you must complete all the steps in one session.
Follow these steps to replace ink cartridges:
1. Make sure the printer is turned on and not printing (the
Ppower light should be
on, but not flashing), then open the printer cover.
2. Press the
R cleaning button and hold it for about three seconds until the print
head moves slightly left and the
Ppower light begins flashing.
To avoid damaging the printer, never move the print head by
hand. Don’t open the clamp or remove a cartridge except to
replace it with a new one. Once you remove a cartridge, you
can’t reuse it, even if it contains ink.
3. Unwrap the new ink cartridge.
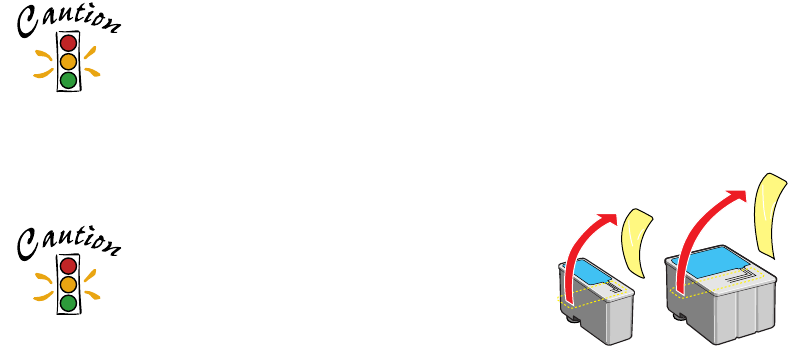
4. Remove only the yellow part of the tape seal on top.
black cartridge
(S020187)
color cartridge
(S020191)
You must remove the yellow tape
from the top of the cartridge or you
will permanently damage it. Don’t
pull off the blue portion or try to
remove the clear seal underneath
the cartridge.
basics.book Page 32 Thursday, September 23, 1999 10:42 AM
