


Using the Projector
47
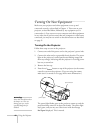
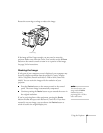
2. Raise or lower the projector until the image is positioned where
you want it.
3. Release the levers to lock the feet in the new position and set the
projector down gently.
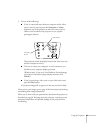
4. To fine-tune the height of the projector, turn the feet. Turn them
clockwise to raise the projector and counterclockwise to lower it.
If the image shape becomes distorted after you adjust the height, see
the following section.
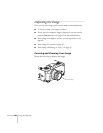
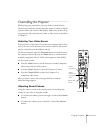
Adjusting the Image Shape
If the projected image isn’t square or has a “keystone” shape, do one or
more of the following:
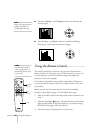
■
If your image looks like or , you’ve placed the
projector off to one side of the screen, at an angle. Move it directly
in front of the center of the screen, facing the screen squarely.
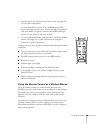
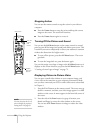
■
If your image looks like or , press the
+
or
—
side of
the
Keystone
button to correct the shape of the image. After
correction, your image will be slightly smaller.
You can also perform electronic keystone correction using the
projector’s Setting menu. See page 69.
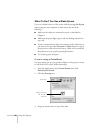
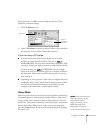
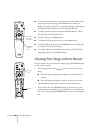
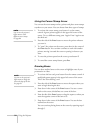
Adjusting the Tracking and Synchronization
If you’re projecting from a computer and you notice vertical stripes or
the image is flickering or noisy, you can increase the clarity by pressing
the button on the control panel or the
Auto
button on the remote
control. This resets the projector’s tracking, sync, and position
settings. If necessary, you can also correct the image manually using
the
Tracking
and
Sync
buttons on the control panel.
Keystone