


2-6 Calibrating Your System
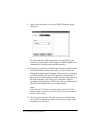
4. You see a message box. Click OK when the chart is printed.
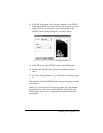
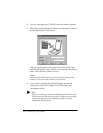
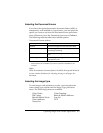
5. Place the printed calibration chart on your scanner, as shown
by the illustration on the screen.
Align the guide mark on the upper left corner of the chart
with the triangular origin mark on your scanner’s document
table. Then close the scanner’s cover.
Note:
Make sure the calibration chart is not skewed on the bed of the
scanner; if it is, the scanner cannot scan the chart.
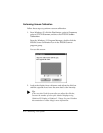
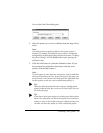
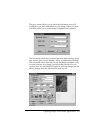
6. If you want to change the default filename and profile
description, enter your changes in the File Name and
Description fields.
r
Tip:
If you are creating more than one calibration profile (for instance,
if you have more than one color printer), make sure you assign
unique descriptions to each calibration profile so you can
distinguish between them.