


Using Special Effects 4-5
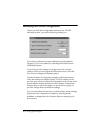
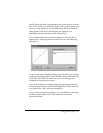
3. Adjust the settings until you are satisfied with the
appearance of the image in the preview window. See the
following table for guidelines on changing these settings.
* You cannot choose the Highlight and Shadow Color buttons when the preview
window is displaying comparison samples.
Note:
Appendix A lists the available ranges for the image controls.
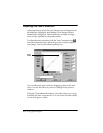
4. When the image in the preview window looks the way you
want, click OK.
5. You can now scan the image into your application.
You can reset any preview image you’ve modified by choosing
the Reset button below the Image Controls icon on the advanced
screen.
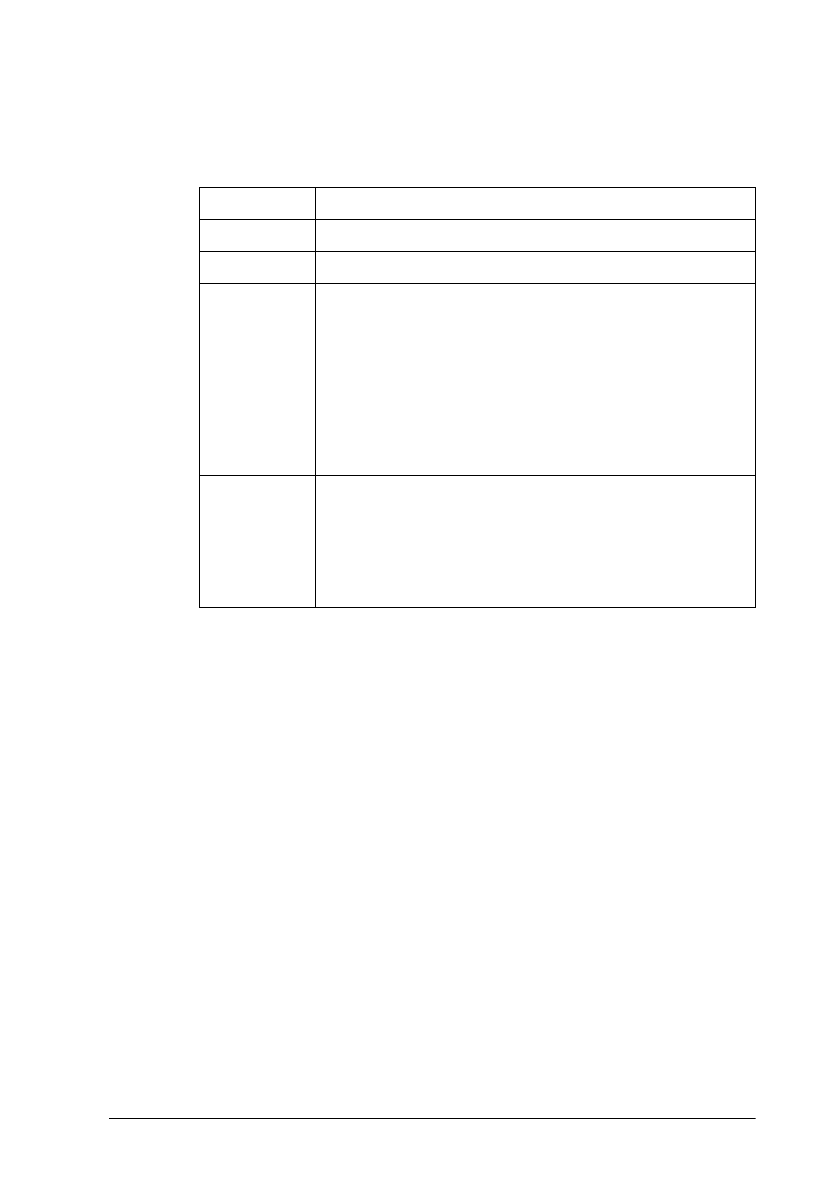
Method Description
Value fields Type the value you want for the current option.
Slide bars Move the slide bar until the preview looks correct.
Comparison
icons
Click the Comparison icon next to the slide bar to
display 3 or 5 comparison samples using different
settings. In the preview window, click the sample that
most closely reflects the image you want. That sample
is selected and placed in the middle position,* and a
different set of samples is displayed based on the
image you selected. Repeat this process until the
image sample you want is displayed in the middle
position; then double-click it and it reappears alone.
Highlight
and Shadow
Color
buttons*
Click the Color button below the Highlight or Shadow
slide bar; the mouse pointer changes to an
eyedropper. Select the color you want to represent
the highlights or shadows from the preview image.
When you select the color in the preview window, the
button turns that color.