


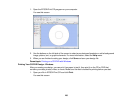
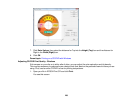
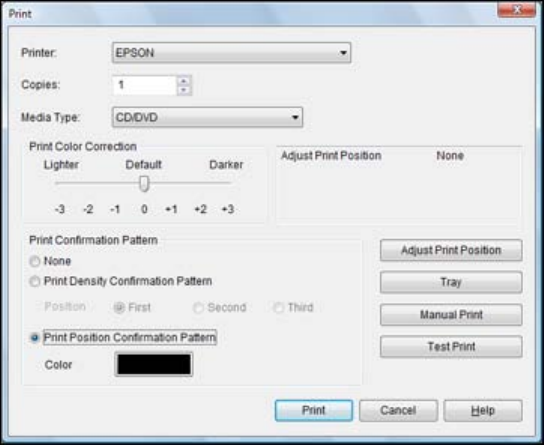
2. Select Print Position Confirmation Pattern.
3. Click Print.
4. Remove the disc after printing.
5. Using a metric ruler, measure the distance from the hole to the cross marks labeled Top and Right.
Note: Be sure to measure from the edge of the hole and not the edge of the printable area.
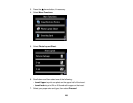
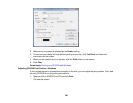
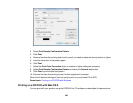
6. Click Print again, then select Adjust Print Position.
You see this screen:
237