


DXP DVI Pro and DXP HDMI Series • HTML Operation 101
HTML Operation
This section provides procedures for accessing and using the DXP embedded web pages.
The following topics are included:
• Accessing the Web Pages
• Special Characters
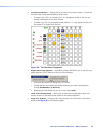
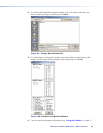
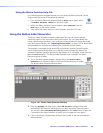
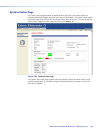
• System Status Page
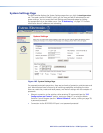
• System Settings Page
• Using the File Management Page
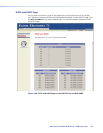
• Set and View Ties (User Control) Page
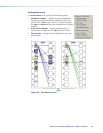
The DXP can be controlled and operated through its Ethernet port, connected via a LAN or
WAN and using a web browser such as Microsoft
®
Internet Explorer
®
. The browser displays
the DXP web pages, which provide an alternative means of configuring and operating the
switcher. These factory-installed web pages are always available and cannot be erased or
overwritten.
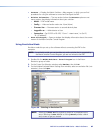
NOTE: If your Ethernet connection to the matrix switcher is unstable, try turning off
the proxy server in your web browser. To do this in Microsoft Internet Explorer,
click Tools > Internet Options > Connections > LAN Settings, clear the
Use a proxy server... check box, then click OK.
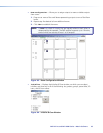
Accessing the Web Pages
Access the HTML pages as follows:
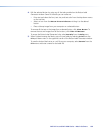
1. Start the web browser program.
2. Click in the browser Address field and enter the IP address of your DXP.
NOTE: If the local system administrators have not changed the value, use the
factory-specified default, 192.168.254.254, in this field.
3. If you want the browser to display a page other than the default page (such as a
custom page that you have uploaded), enter a slash (
/) following the IP address and
the name of the file to open.
NOTES: • The browser Address field should display the IP address in the following
format: nnn.nnn.nnn.nnn/optional_file_name.html.
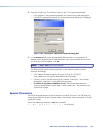
• The following characters are invalid or not recommended in file names:
+ ~ , @ = `[ ] { } < > ‘ ’ “ ” ; : | \ ? and {space}.