Wireless Cable Modem Gateway CGD24G User Manual
Wireless Configuration 2-11
v1.1, May 2009
A WPS client can be added using the Push Button method or the PIN method.
• Using the Push Button. This is the preferred method. See the following section, “Using a
WPS Button to Add a WPS Client.
• Entering a PIN. For information about using the PIN method, see “Using a PIN Entry to Add
a WPS Client” on page 2-12.
Using a WPS Button to Add a WPS Client
Any wireless computer or wireless adapter that will connect to the gateway wirelessly is a client.
The client must support a WPS PIN, and must have a WPS configuration utility, such as the
NETGEAR Smart Wizard or Atheros Jumpstart.
Before you can add a WPS client, the Security Option in the Wireless Settings screen must be set
to Disabled, WPA-PSK, or WPA2-PSK. See “Manually Configuring Your Wireless Settings and
Security” on page 2-3.
To use the gateway WPS button to add a WPS client:
1. Log in to the gateway using its default address of http://192.168.0.1 or at whatever IP address
the unit is currently configured.
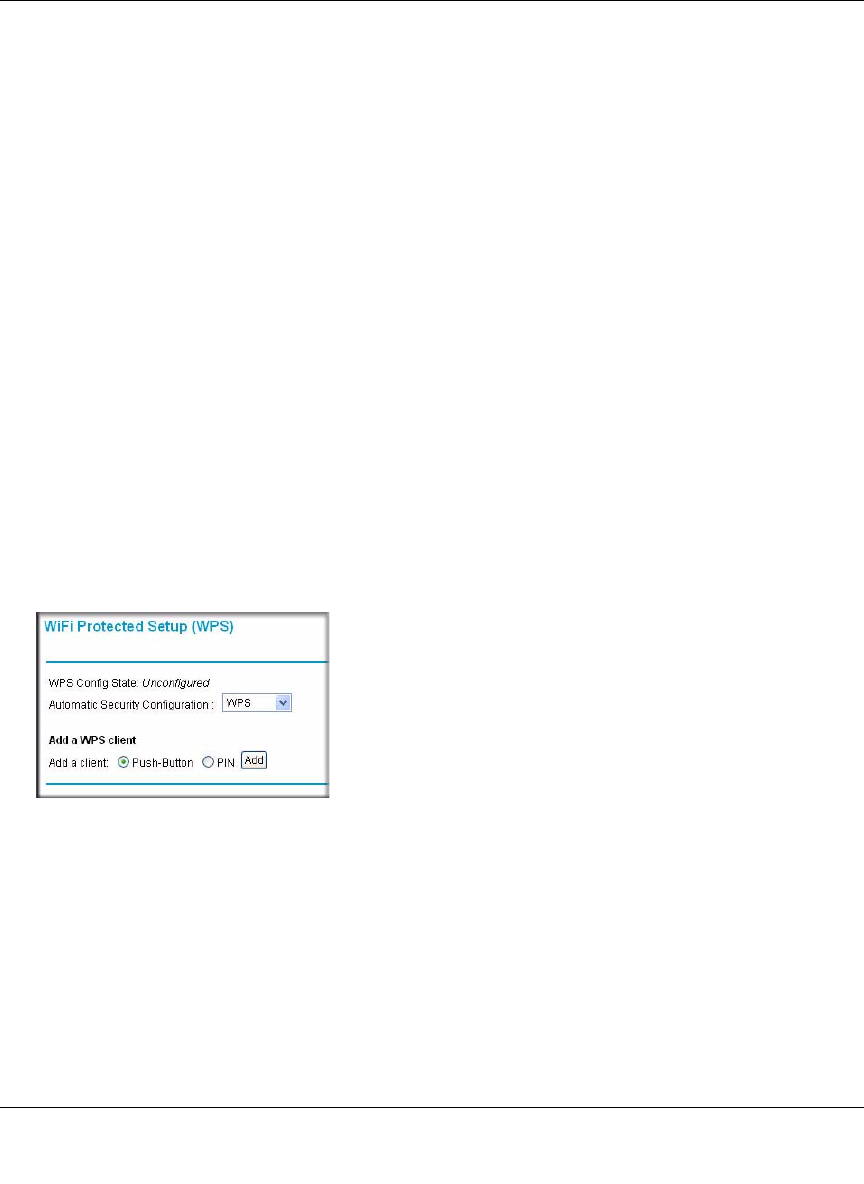
2. In the main menu, under Setup, select WPS Settings. The Wi-Fi Protected Setup (WPS)
screen displays.
By default, the Push Button radio button is selected.
3. Click Add.
• The Wireless LED on the front of the gateway begins to blink.
• The gateway tries to communicate with the client for 2 minutes.
4. Go to the client wireless computer, and run a WPS configuration utility. Follow the utility’s
instructions to click a WPS button.
Figure 2-5
