


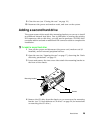

3.5-inch diskette or CD drives
25
6
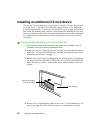
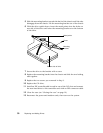
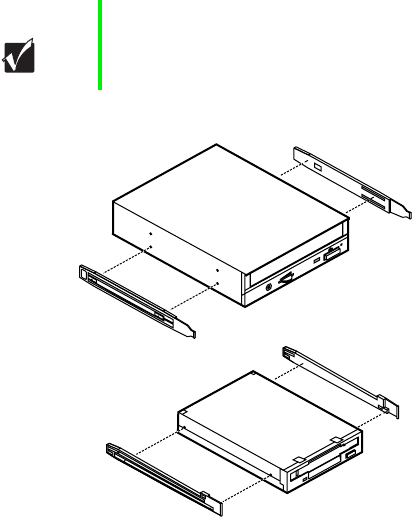
Remove the rails on both sides of the drive and snap them onto the new
drive in the same positions. Make sure the front rail extensions are
towards the front of the drive.
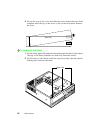
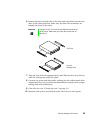
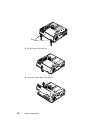
7 Align the rails with the appropriate bay and slide the drive into the bay
until the locking tabs snap into place.
8 Connect the power and data cables, making sure the cables match their
original position. (See your drive documentation for proper drive jumper
settings and cable orientation.)
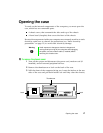
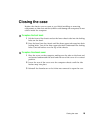
9 Close the case (see “Closing the case” on page 19.)
10 Reconnect the power and modem cords, then turn on the system.
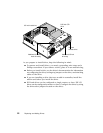
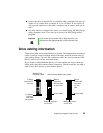
Important The rails on the 3.5-inch drive are different from those on
the CD drive. Make sure you install the correct rails on
each drive.
CD Drive
3.5-inch
Diskette Drive