


30
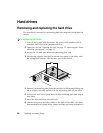
Replacing and Adding Drives
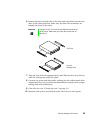
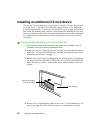
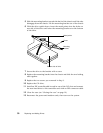
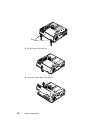
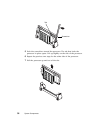
5 Slide the mounting bracket towards the back of the chassis until the tabs
disengage from the chassis. Lift the mounting bracket out of the chassis.
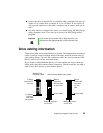
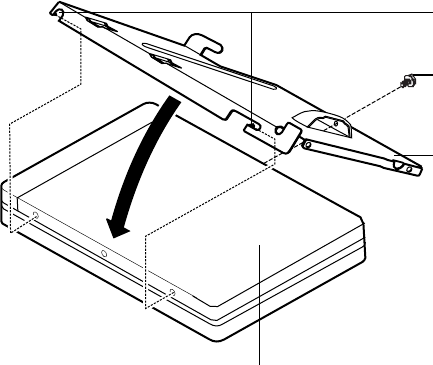
6 With the drive upside down, insert the metal points into the holes on
one side of the drive and lower the mounting bracket over the bottom
of the drive.
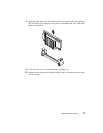
7 Secure the drive to the bracket with a screw.
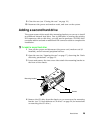
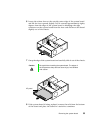
8 Replace the mounting bracket into the chassis and slide the two locking
tabs together.
9 Replace the two screws you removed in Step 3.
10 Replace the CD drive.
11 Install an IDE controller add-in card in one of the PCI slots and connect
the new hard drive to this controller card with an IDE connector cable.
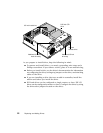
12 Close the case (see “Closing the case” on page 19.)
13 Reconnect the power and modem cords, then turn on the system.
Metal points
Bottom side of drive
Mounting
bracket
Screw