


www.gateway.com
33
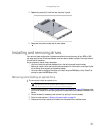
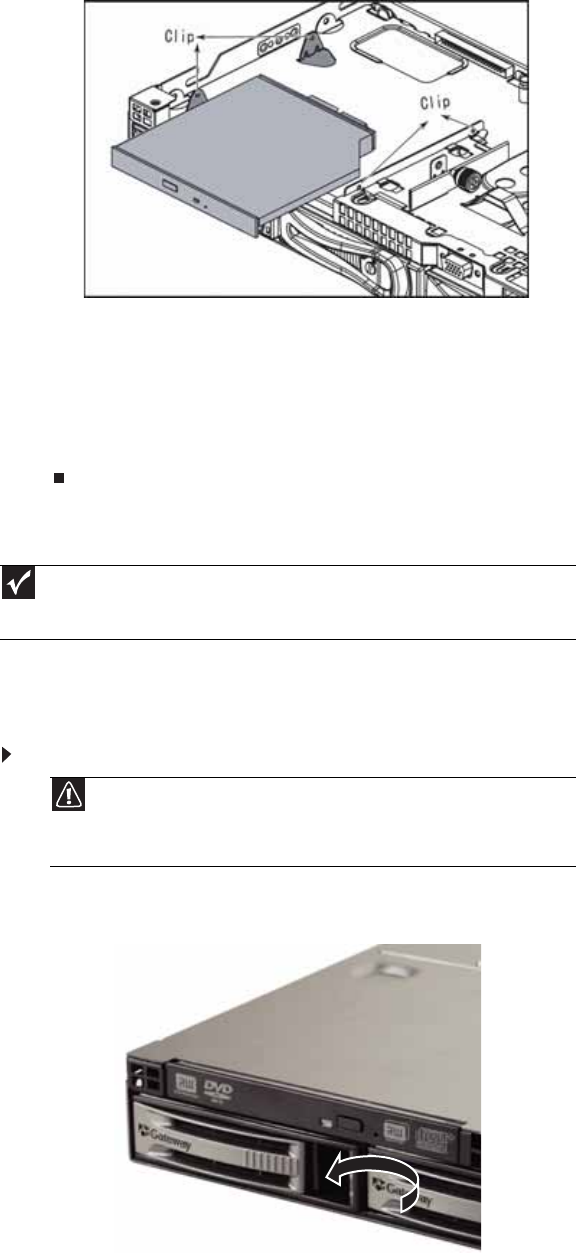
9 Slide the new optical drive into the drive bay, making sure you align the drive with the
retaining clips on both sides of the drive.
10 Push the retaining clip against the drive until snug, then tighten the thumbscrew to hold
the drive in place.
11 Connect the 44-pin optical drive cable to the back of the optical drive interface board.
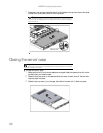
12 Follow the instructions in “Closing the server case” on page 30.
13 Reinstall the bezel, if required, by snapping it into place on the front of the chassis.
14 Reconnect all power cords and peripheral device cables, then turn on the server.
Removing and installing a hard drive
Use this procedure to add or replace a hard drive in a hot-swap bay. Your server supports as many
as four 1-inch high, 3.5-inch hot-swap SATA and SATA II hard drives or four 1-inch high, 3.5-inch
hot-swap SAS hard drives. You can purchase additional drives through your Gateway Sales or
Customer Care representative.
To remove and install a hot-swap hard drive:
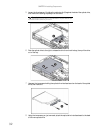
1 Unlock the bezel (if necessary) and remove it by pulling it from the chassis.
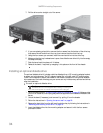
2 Put your finger in the drive release lever and pull out. The drive release lever opens.
Important
Gateway tests and verifies the operation and compatibility of the drives it sells.
Especially in a hot-swap or mission-critical environment, additional or replacement drives
must conform to Gateway standards.
Caution
Before you remove a failed drive, use the appropriate software and utilities
installed on the server to stop all activity on the failed drive. Instructions for using
the software are provided by the software manufacturer. Failure to do so may
destroy the data on the drive.