CHAPTER 4: Installing Components
48
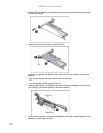
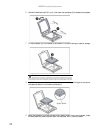
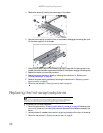
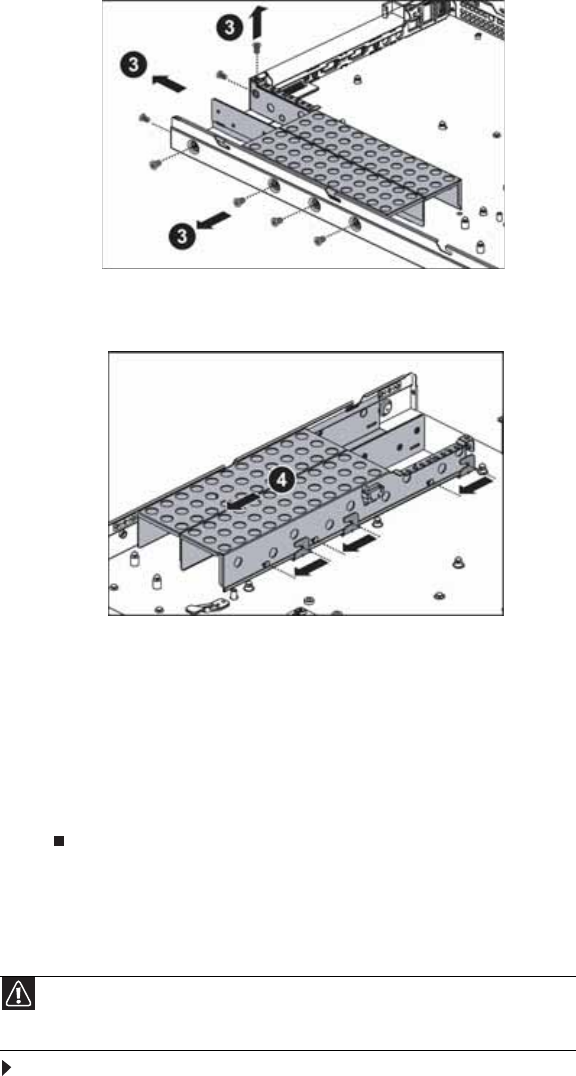
5 Remove the screws (3) holding the power cage in the chassis.
6 Slide the power cage (4) toward the front of the chassis to disengage the locking tabs, then
lift the power cage out of the chassis.
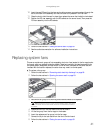
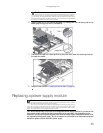
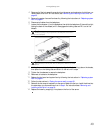
7 Place the new power cage into the chassis, aligning the cage with the locking tabs in the
chassis, then slide the power cage toward the back of the chassis to engage the locking tabs.
8 Replace the screws you previously removed.
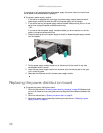
9 Replace the power distribution board by following the instructions in “Replacing the
hot-swap backplanes” on page 48.
10 Reinstall the power supply modules by following the instructions in “Replacing a power
supply module” on page 45.
11 Follow the instructions in “Closing the server case” on page 30.
Replacing the hot-swap backplanes
To replace the hot-swap backplane:
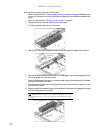
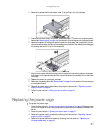
1 Follow the instructions in “Preventing static electricity discharge” on page 28. Make sure that
you turn off the server, then unplug the power cord(s) and all other cables connected to the
server.
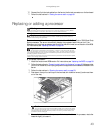
2 Unlock the bezel (if necessary) and remove it by pulling it straight off the front of the server.
3 Follow the instructions in “Opening the server case” on page 29.
Caution
The hot-swap backplane is not hot-swappable. Before removing or replacing the
backplane, you must first turn off the server and all peripheral devices attached to the
server, and remove the AC power cord(s) from the power supply or wall outlet.


