


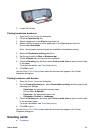
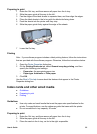

Preparing to print
1 Raise the Out tray, and then remove all paper from the In tray.
2 Slide the paper guide all the way to the left.
3 Fan the edges of the label sheets to separate them, and then align the edges.
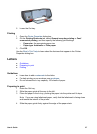
4 Place the label sheets in the In tray with the label side facing down.
5 Push the sheets into the printer until they stop.
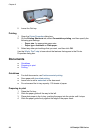
6 Slide the paper guide firmly against the edge of the sheets.
7 Lower the Out tray.
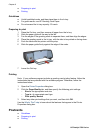
Printing
Note If your software program includes a label printing feature, follow the instructions
that are provided with the software program. Otherwise, follow the instructions below.
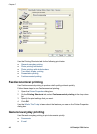
1 Open the Printer Properties dialog box.
2 On the Printing Shortcuts tab, select General everyday printing, and then
specify the following print settings:
– Paper size: An appropriate paper size
– Paper type: Automatic or Plain paper
3 Click OK.
Use the What’s This help to earn about the features that appear in the Printer
Properties dialog box.
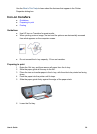
Index cards and other small media
● Guidelines
● Preparing to print
● Printing
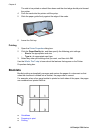
Guidelines
● Use only cards and small media that meet the paper size specifications for the
printer. For specifications, see the reference guide that came with the printer.
● Do not exceed the In tray capacity: 30 cards.
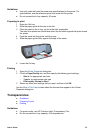
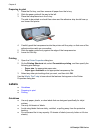
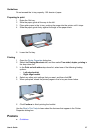
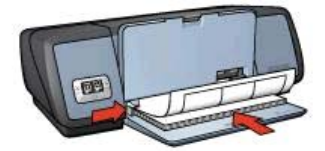
Preparing to print
1 Raise the Out tray, and then remove all paper from the In tray.
2 Slide the paper guide all the way to the left.
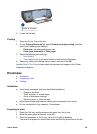
3 Place the cards in the In tray, as far to the right as possible.
User's Guide 35