312 DS8000 Series: Concepts and Architecture
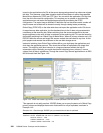
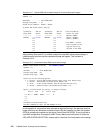
Example 14-11 Indicate SMS volume status change for all connected system images
SMS VOLUME STATUS ALTER Page 1 of 2
Command ===>
SCDS Name . . . . . . : SYS1.DFSMS.SCDS
Storage Group Name . : XC
Volume Serial Numbers : XC6510 - XC6514
To ALTER SMS Volume Status, Specify:
System/Sys SMS Vol System/Sys SMS Vol ( Possible SMS Vol
Group Name Status Group Name Status Status for each:
---------- ------- ---------- ------- NOTCON, ENABLE,
MCECEBC ===> disnew MZBCVS2 ===> disnew DISALL, DISNEW,
===> ===> QUIALL, QUINEW )
===> ===>
===> ===> * SYS GROUP = sysplex
===> ===> minus systems in the
===> ===> sysplex explicitly
===> ===> defined in the SCDS
===> ===>
After pressing Enter and PF3 to validate and perform the SMS volume status change, a
validation panel confirms that the requested change did happen. This is shown in
Example 14-12.
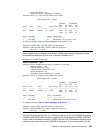
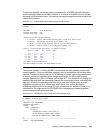
Example 14-12 Confirmation about SMS volume status change
STORAGE GROUP VOLUME SELECTION ALL VOLUMES ALTERED
Command ===>
CDS Name . . . . . : SYS1.DFSMS.SCDS
Storage Group Name : XC
Storage Group Type : POOL
Select One of the following Options:
3 1. Display - Display SMS Volume Statuses (Pool & Copy Pool Backup only)
2. Define - Add Volumes to Volume Serial Number List
3. Alter - Alter Volume Statuses (Pool & Copy Pool Backup only)
4. Delete - Delete Volumes from Volume Serial Number List
Specify a Single Volume (in Prefix), or Range of Volumes:
Prefix From To Suffix Type
______ ______ ______ _____ _
===> XC 6510 6514 X
===>
===>
===>
Use ENTER to Perform Selection;
Use HELP Command for Help; Use END Command to Exit.
In this example all volumes that were selected through the filtering in the previous panel no
longer allow any new allocation on these volumes. But this happens only after the updated
SCDS is activated and copied into the Active Control Data Set (ACDS). A way to activate a
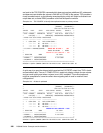
new SMS configuration is through the ISMF Primary Menu panel with option 8. Under the
CDS APPLICATION SELECTION, choose option 4 and then 5 to finally perform the change.


