


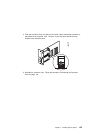
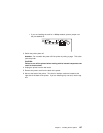


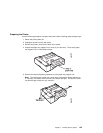
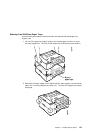
5. Unpack the duplex unit.
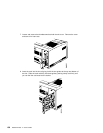
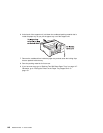
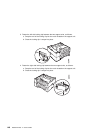
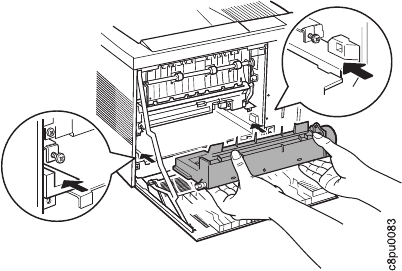
6. Place the duplex unit into the guide channels that are located on both sides of the
back opening and slide the unit into the printer. Keep pushing until the duplex unit
locks into place.
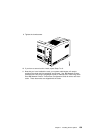
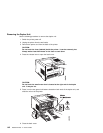
7. Close the back cover.
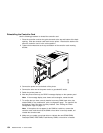
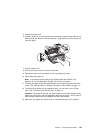
8. Connect the power cord to the back of the printer.
9. Connect the other end of the power cord to a grounded AC outlet.
10. Switch the printer power on.
Note: If the operator panel displays any message other than READY, see
Appendix B, “Printer Messages” on page 191 for more information.
11. To make two-sided printing the printer default, set the Paper Menu DUPLEX item
to ON. See “Making Duplex or Simplex Printing the Printer Default” on page 16.
12. To verify that the duplex unit is installed correctly, you can print a list of PCL5e
fonts. See “Printing a List of PCL5e Fonts” on page 17.
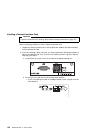
Attention: During duplex printing, the leading edge of each sheet of paper briefly
appears in the exit tray, and then disappears back into the printer. Do not remove
these sheets of paper until they reappear with both sides printed.
13. Make sure you update your printer driver to indicate the duplex unit is installed.
Chapter 7. Installing Printer Options 141