


25
Setup
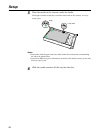
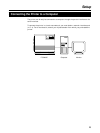
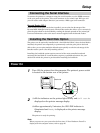
Connecting the Serial Interface
To connect the printer to a computer using the serial interface, use the XSER connector
at the rear panel of the printer. The serial connector is of a round, 8-pin DIN type and
you will need a cable adaptor (SA-80) if you connect a DSub type serial connector.
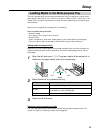
Barcode Reader (BC-1)
With the hard disk option (see below) installed, you can take the advantage of the
Kyocera MPS (Multiple Print System). The barcode reader then allows you to recursively
print the jobs cached in the hard disk by reading the barcode printed on the printed job.
For more information, refer to the user’s manual supplied with the barcode reader.
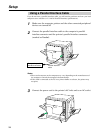
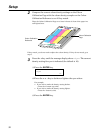
Installing the Hard Disk Option
The printer can be optionally installed with a hard disk kit HD-2C. Once the hard disk is
installed, the printer can temporarily or permanently cache the print jobs in the hard
disk so that you can print multiple collated copies quickly or take the advantage of the
barcode reader system. (See the preceding section.)
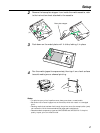
Installing the hard disk option requires removal of the main controller board and
mounting the hard disk on it and therefore requires a qualified technician. See your
dealer from which the printer is purchased for installing the hard disk.
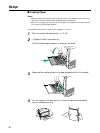
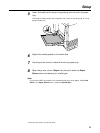
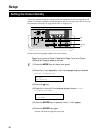
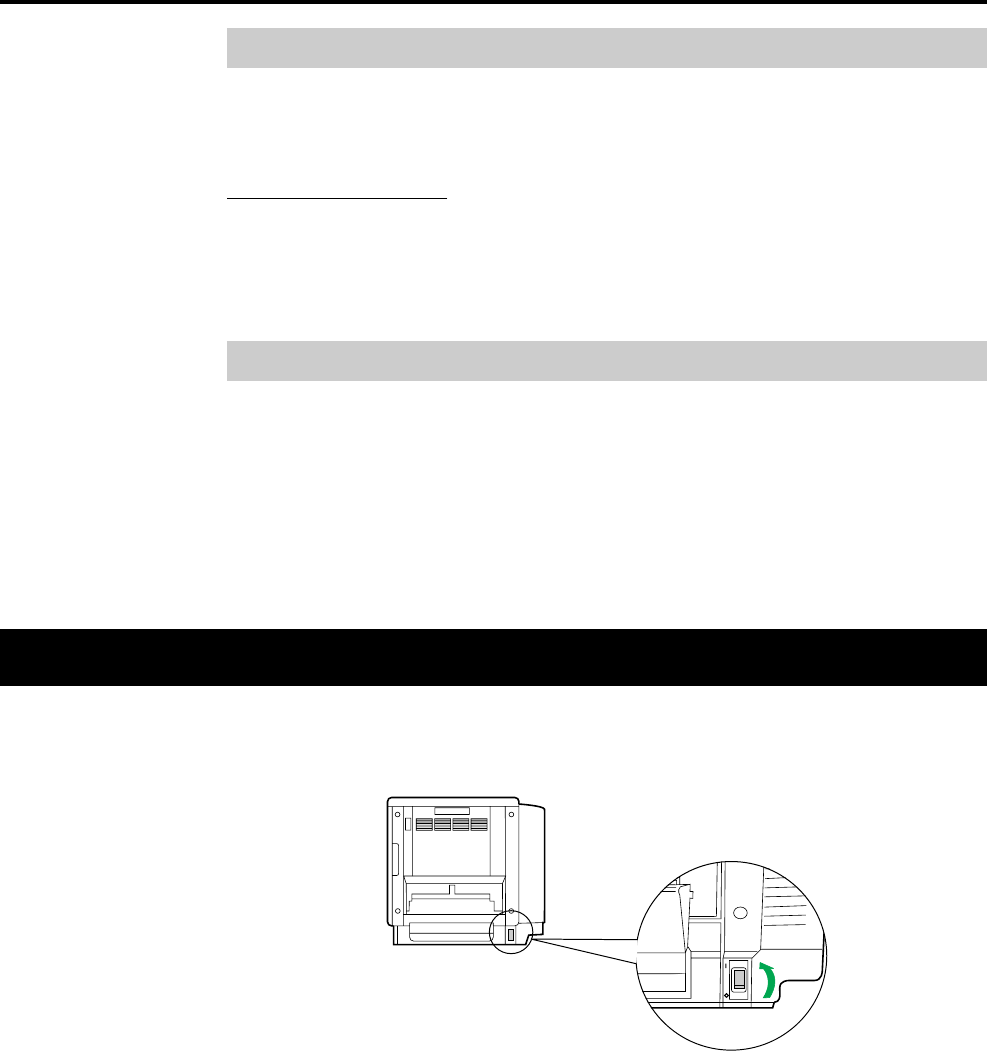
Power On
1
Turn ON the printer, then the computer. The printer’s power switch
is located at the bottom rear of the printer.
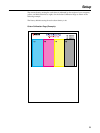
2
(1) All the indicators on the printer lights briefly and Self test is
displayed on the printer message display.
(2) After approximately 5 minutes, the ON LINE indicator is
illuminated and Ready is displayed on the printer message
display.
The printer is ready for printing.
Note:
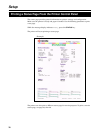
When you power on your system for the first time, if “New Hardware Found” is
displayed on the computer screen, refer to page 28.
Back side