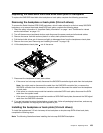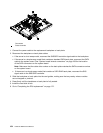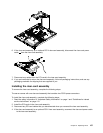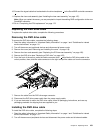
10.Connect the signal cable that is attached to the drive backplane 1 to the ServeRAID controller connector
2 .
11.Replace the riser-card assembly (see “Installing the riser-card assembly” on page 157).
Note: When you restart the server, you are prompted to import the existing RAID conguration to the new
ServeRAID controller.
12.Go to “Completing the FRU replacement” on page 172.
Replacing the DVD drive cable
To replace the optical drive cable, complete the following procedures:
Removing the DVD drive cable
To remove the DVD drive cable, complete the following steps:
1. Read the safety information in “Important Safety Information” on page 1 and “Guidelines for trained
service technicians” on page 115.
2. Turn off the server and peripheral devices and disconnect all power cords.
3. Remove the cover (see “Removing and installing the cover” on page 119).
4. Remove the riser-card assembly (see “Replacing the PCI riser-card assembly” on page 156).
5. Remove the DVD drive (see “Replacing a DVD drive” on page 163).
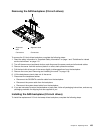
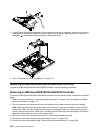
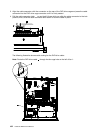
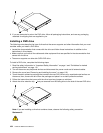
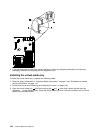
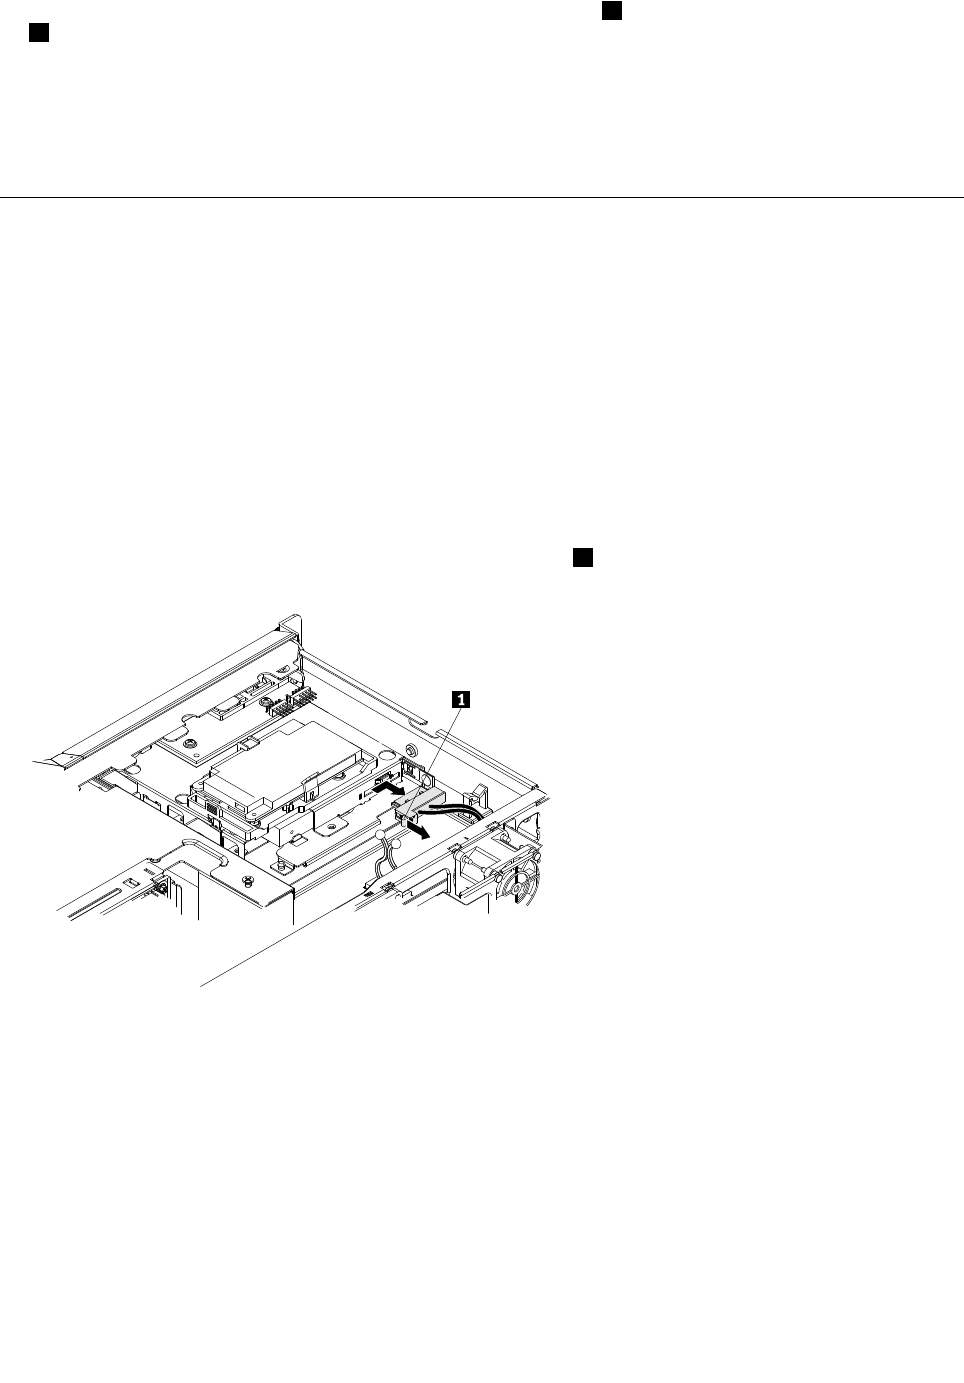
6. From the front of the server, press the cable connector latch 1 and slide the DVD drive cable to the
unlock position; then, slide the cable connector to the right and pull the cable out from the connector.
7. Remove the cable from the DVD drive cage connector.
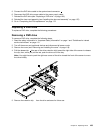
8. Disconnect the DVD drive power cable from the power supply cable.
9. If you are instructed to return the DVD drive cable, follow all packaging instructions, and use any
packaging materials for shipping that are supplied to you.
Installing the DVD drive cable
To install the DVD drive cable, complete the following steps:
1. Read the safety information in “Important Safety Information” on page 1 and “Guidelines for trained
service technicians” on page 115.
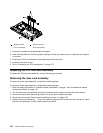
2. Turn off the server and peripheral devices and disconnect the power cords and all external cables.
Chapter 6. Replacing FRUs 161


