


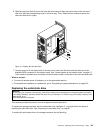
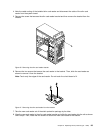

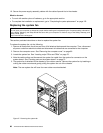
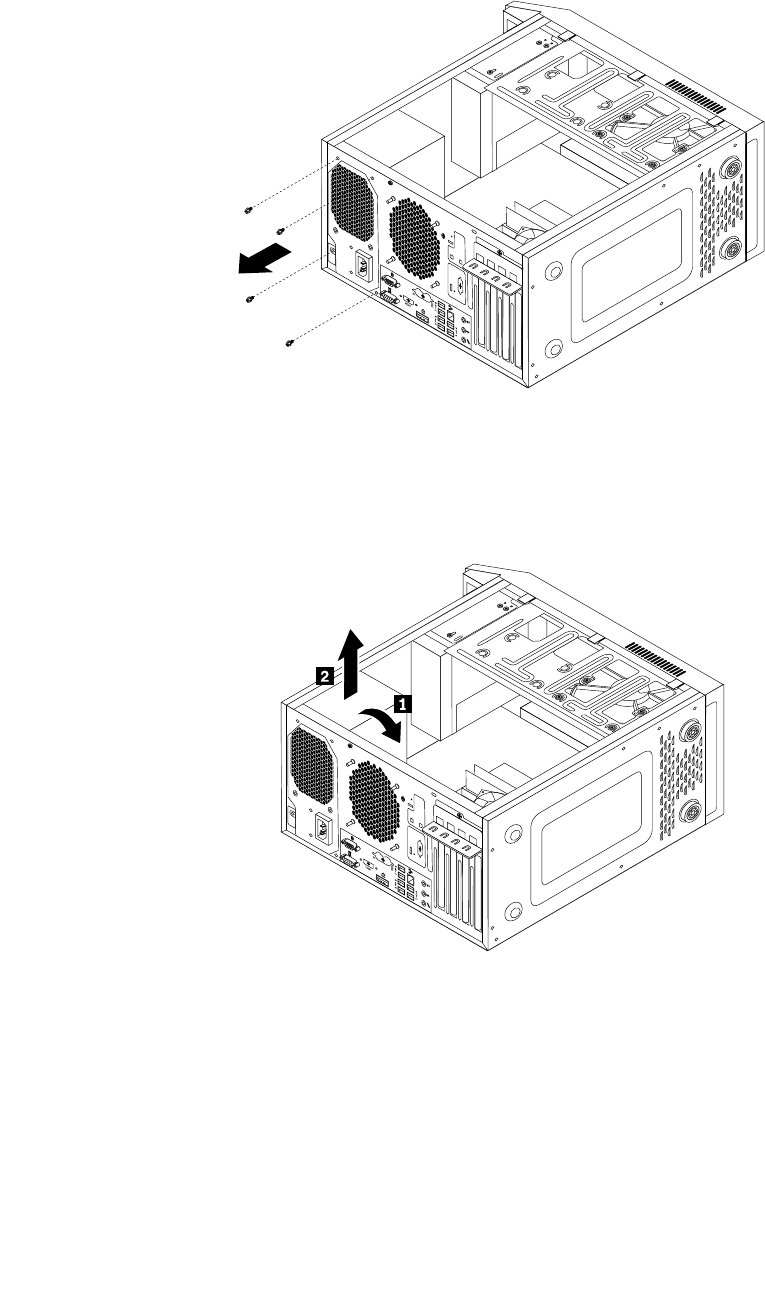
4. Lay the computer on its side and remove the four screws at the rear of the chassis that secure the
power supply assembly.
Figure 25. Removing the screws for the power supply assembly
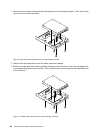
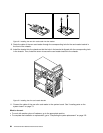
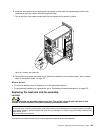
5. Slide the power supply assembly to the front of the computer and pivot it downwards to disengage it
from the chassis. Then, lift the power supply assembly out of the chassis.
Figure 26. Removing the power supply assembly
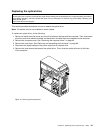
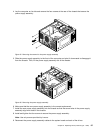
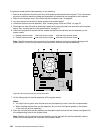
6. Make sure that the new power supply assembly is the correct replacement.
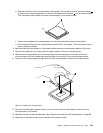
7. Install the new power supply assembly into the chassis so that the screw holes in the power supply
assembly align with those in the chassis.
8. Install and tighten the four screws to secure the power supply assembly.
Note: Use only screws provided by Lenovo.
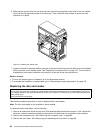
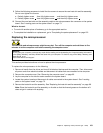
9. Reconnect the power supply assembly cables to the system board and each of the drives.
Chapter 9. Replacing FRUs (machine type: 10AR) 97