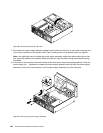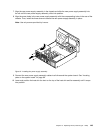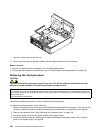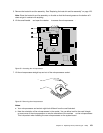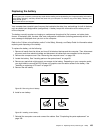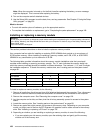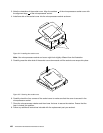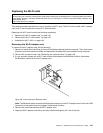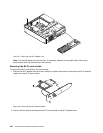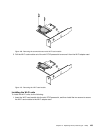
Note: When the computer is turned on for the rst time after replacing the battery, an error message
might be displayed. This is normal after replacing the battery.
8. Turn on the computer and all attached devices.
9. Use the Setup Utility program to set the date, time, and any passwords. See Chapter 6 “Using the Setup
Utility program” on page 55.
What to do next:
• To work with another piece of hardware, go to the appropriate section.
• To complete the installation or replacement, go to “Completing the parts replacement” on page 169.
Installing or replacing a memory module
Attention:
Do not open your computer or attempt any repair before reading and understanding the “Important safety information”
in the Safety, Warranty, and Setup Guide that came with your computer. To obtain a copy of the Safety, Warranty, and
Setup Guide, go to:
http://www.lenovo.com/support
This section provides instructions on how to install or replace a memory module.
Your computer has four slots for installing or replacing DDR3 UDIMMs that provide up to a maximum of
32 GB system memory. When installing or replacing a memory module, use 2 GB, 4 GB, or 8 GB DDR3
UDIMMs in any combination up to a maximum of 32 GB.
The following table provides information about the memory module installation rules that you should
consider when installing or removing a memory module. The “X” mark indicates the memory slot(s) into
which the memory module(s) should be installed in different situations. The numbers 1, 2, 3, and 4 indicate
the installation sequence. To locate the memory module slots, see “Locating parts on the system board”
on page 80.
UDIMM DIMM 1 DIMM 2 DIMM 3 DIMM 4
One UDIMM
X
Two UDIMMs X, 1 X, 2
Three UDIMMs X, 3 X, 1 X, 2
Four UDIMMs X, 3 X, 1 X, 4 X, 2
To install or replace a memory module, do the following:
1. Remove all media from the drives and turn off all attached devices and the computer. Then, disconnect
all power cords from electrical outlets and disconnect all cables that are connected to the computer.
2. Remove the computer cover. See “Removing the computer cover” on page 126.
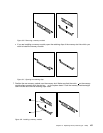
3. Lay the computer on its side, and then pivot the drive bay assembly upward to access to the system
board.
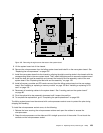
4. Locate the memory slots. See “Locating parts on the system board” on page 80.
5. Remove any parts that might prevent your access to the memory slots. Depending on your computer
model, you might need to remove the PCI Express x16 graphics card for easier access to the memory
slots. See “Installing or replacing a PCI card” on page 153.
6. Depending on whether you are installing or replacing a memory module, do one of the following:
• If you are replacing an old memory module, open the retaining clips and gently pull the memory
module out of the memory slot.
156 ThinkCentre E93 Hardware Maintenance Manual


