


Using the System
48
Network
Configure network settings and enable Lorex DDNS for remote viewing and
email notification.
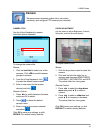
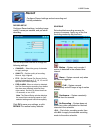
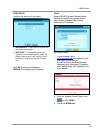
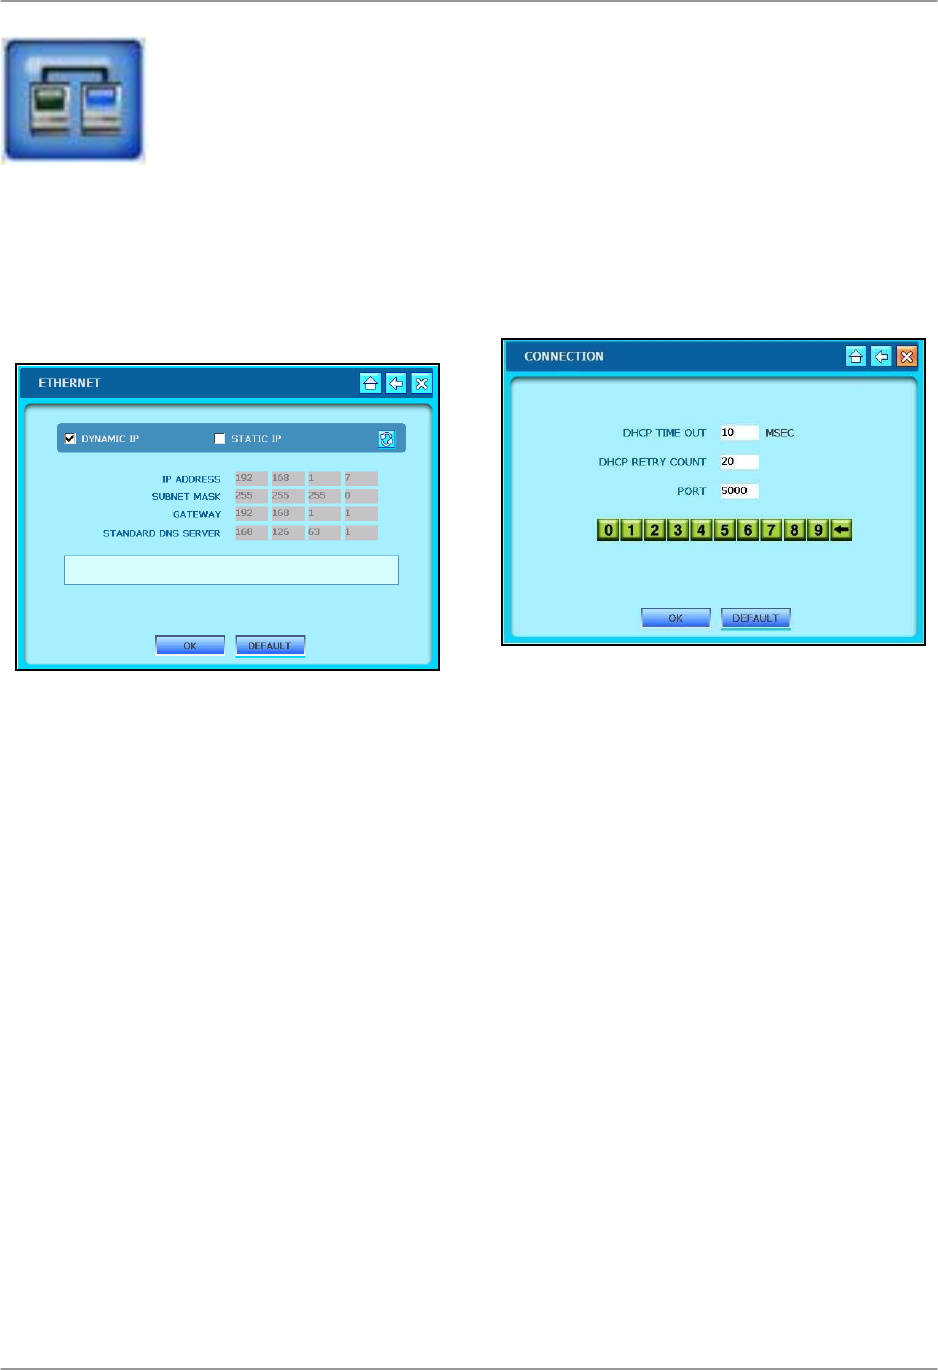
ETHERNET
Make sure you have connected your
system to your network via the Network
port on the rear panel. With the provided
software, you can control the system
remotely using a PC with Internet access.
• DYNAMIC IP – Check the box if you have
Internet service with a Dynamic IP address.
• STATIC IP – Check the box to enable a
connection with a Static IP address. If using
a Static IP, use the Virtual Keyboard to edit
your IP Address, Subnet Mask, gateway,
and Standard DNS Server.
Click OK to save your settings or
DEFAULT to restore factory defaults.
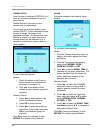
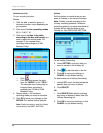
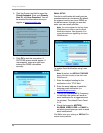
CONNECTION
Configure the settings DHCP (Dynamic
Host Configuration Protocol) settings. This
affects how your system communicates
with the router.
• DHCP TIME OUT – Set the time (in
milliseconds) for the system to send/receive
information from the router. Use a high
value on a slow network and a low value on
a fast network.
• DHCP RETRY COUNT – Set the interval for
the system to try to reconnect to the router
• PORT – Set the port for the system to
communicate with the router. By default, the
system uses port 5000.
Click OK to save your settings or
DEFAULT to restore factory defaults.
Tip: DCHP Mode allows you to connect
quickly the first time by obtaining an IP
address from the router. After the initial
setup, we recommend that you select a
Static IP and set the IP address between
1~100. For example, if your IP address is
192.168.0.107, change the last digits to 50
(i.e. 192.163.0.50).
This ensures that port forwarding will not
change in the event of power failure or
resetting of your network.