L19WD Series
65
Setting up the Lorex Client
You need to setup and configure the Lorex Client in order to use the Remote Viewing function of
your system. Make sure you have completed the free Lorex DDNS setup before using Lorex
Client.
To setup the Lorex Client:
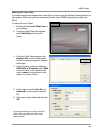
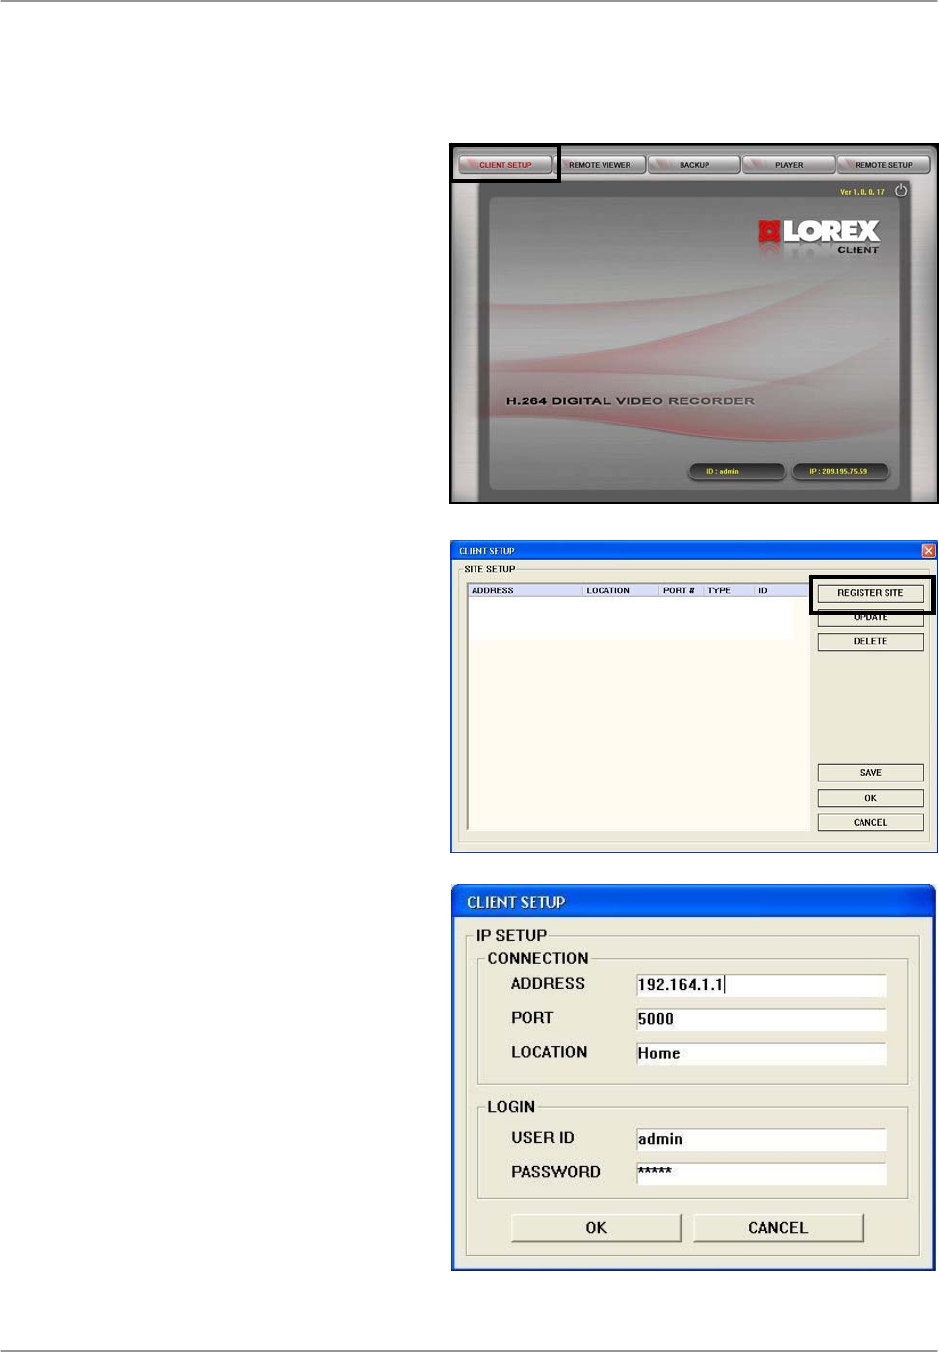
1. Double-click the Lorex Client icon on
your desktop.
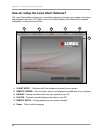
2. From the Lorex Client main window,
click Client Setup in the top-left
corner.
3. From the Client Setup window, click
Register Site. A new window opens
for you to input your system’s network
information.
4. Under IP Setup, enter your system’s
DDNS URL or IP address; enter 5000
in the Port field. In the Location field,
enter a name for the location of your
system (i.e. Home, Work).
5. Under Login, enter the User ID and
Password for your system and click
OK.
6. Select your newly added site and click
OK.
For complete information on using the Remote
Viewer, Player, and Backup functions of the
Lorex Client, please refer to the Lorex Client
Software Manual.


