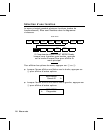
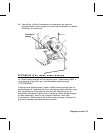
Impression des polices TrueType®
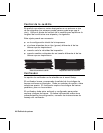
L’imprimante 9860 offre ces polices à échelle modifiable. Leurs
caractères s’impriment de façon très uniforme, sans les bords
dentelés des polices mode point. Le téléchargement d’une police
TrueType comprend la police entière, sans pouvoir préciser de
sous-ensemble (taille ou caractères particuliers) de la police.
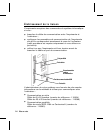
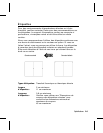
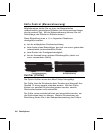
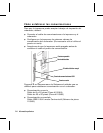
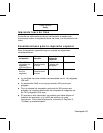
Ces fichiers de polices sont parfois très
larges et l’image plus lente que pour les
polices mode point. Leur taille, en bites,
représente la quantité minimum de mémoire
disponible que vous devez avoir pour les
polices dans la mémoire de l’imprimante.
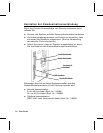
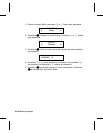
Votre administrateur de système devra peut-être reconfigurer la
mémoire de l’imprimante pour pouvoir utiliser les polices TrueType
téléchargées. Référez-vous au Packet Reference Manual (Manuel
de référence des paquets) en option (disponible sur notre site
Web) pour apprendre comment effectuer la reconfiguration. Une
fois effectuée, retransmettez la police, le format et les paquets de
lot.
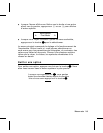
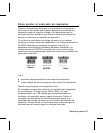
L’imprimante 9860 peut accepter un fichier de police TrueType qui
a été converti en fichier encodé Hex ou Run-Length à l’aide de la
version de Font Utility disponible sur notre site Web
(www.paxar.com). Font Utility fait partie de la famille Monarch®
MPCL Toolbox Utilities. Vous pouvez aussi utiliser une vaste
gamme de pages de codes avec caractères internationaux
(turque, latin, espagnol, etc.). L’utilisation des polices TrueType
vous donne accès à une plus grande variété de polices pour vos
formats. Elles sont conçues pour être spécifiques à une région
donnée ; par conséquent, il est possible que toutes les pages de
codes ne soient pas offertes pour une police particulière.
Consultez votre administrateur de système si vous devez utiliser
ces polices.
5-8
Impression