


4-46
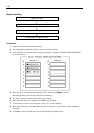
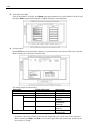
– To open the "Advanced" sub menu screen from the "Logical Drive XX" menu screen, select "Advanced
Menu" and then press Enter. Press Esc to move to the "Logical Drive XX" menu screen. In this case, the
cursor moves to "Accept."
– When creating SPANNING OF RAID5 system, set logical drive size to full capacity. SPAN setting is
disabled when the logical drive size is changed.
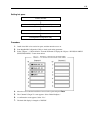
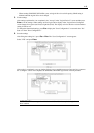
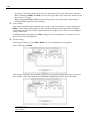
5. Fix the settings.
After settings explained in 6 are completed, select "Accept" in the "Logical Drive X" screen and then press
Enter to fix the settings. When settings are fixed, logical drive display in the "Logical Drive Configured"
screen changes from green (not fixed) to light blue (fixed). The display color for the drive reveals whether a
setting is fixed or not.
To change the determined settings, press Esc to display the "Save Configuration?" screen and select "No."
Start over from "New Configuration."
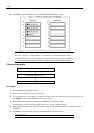
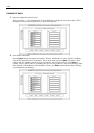
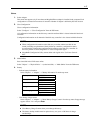
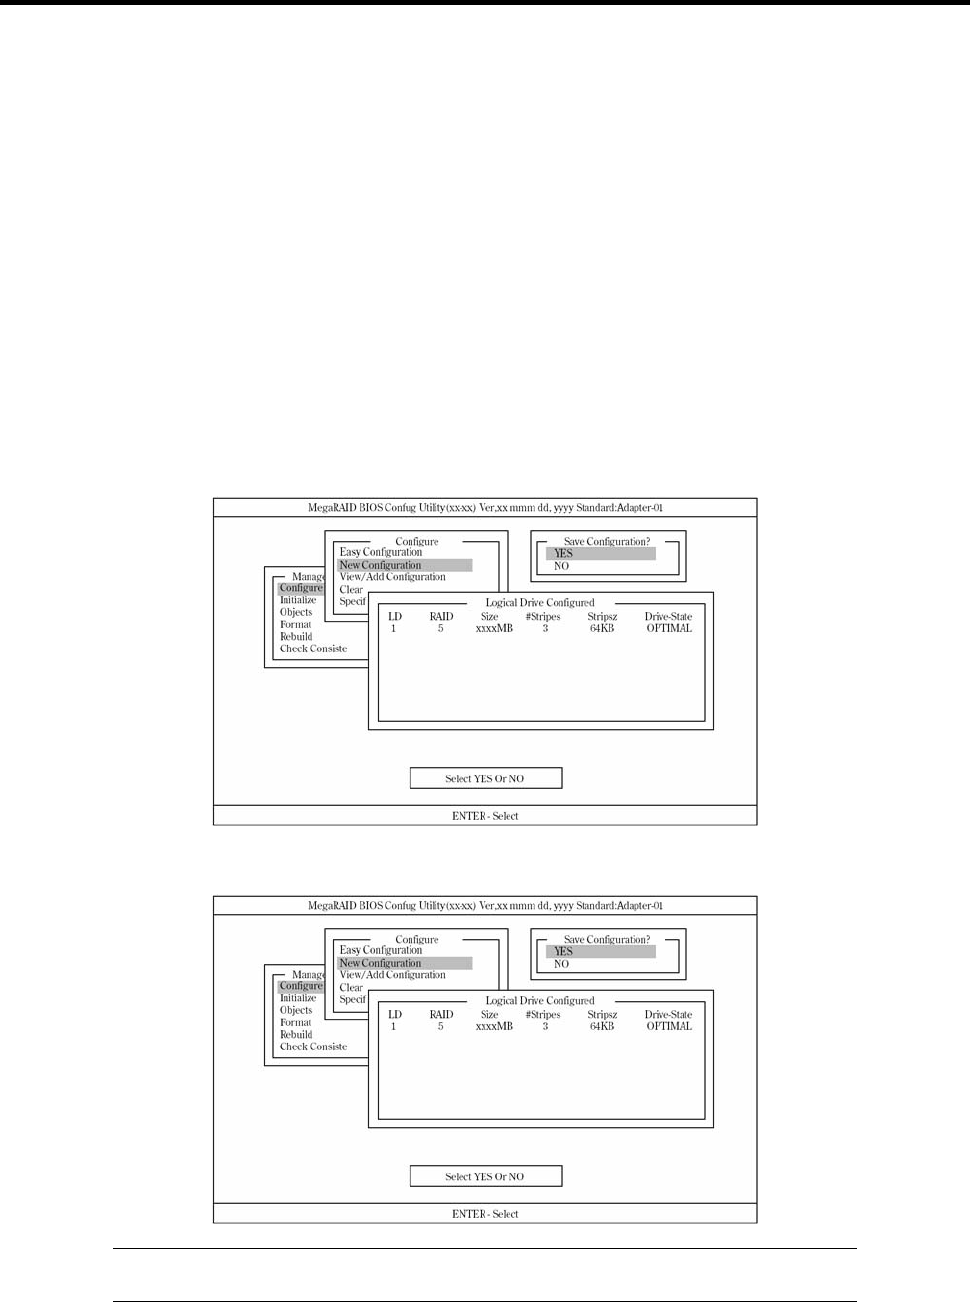
6. Save the settings.
After fixing the settings in 5, press Esc or Enter. The "Save Configuration?" screen appears.
Select "YES" and press Enter.
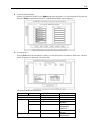
After saving is completed, a pop-up window displays a save completion message. Press any key to return to
the "Configure" screen. This completes the SPANNING OF RAID5 logical drive creation procedure.
IMPORTANT: Be sure to perform "Initialize" and "Check Consistency" after logical
drive creation.